At Brooklyn Tech High School, our student population is nearly 6,000, making us one of the largest high schools in the country. I am one of three librarians serving such a large student body, and it’s important to us to be responsive to student needs. Historically, our school (founded in 1922) was designed to prepare students for technical careers. All students complete courses in digital design and production, and there is a clear STEM focus to the curriculum and the school’s mission.
Inspired by the makerspace trend across the country and excited to add some of the art components of STEAM, we love the thought of reimagining the ways our library can be used: as a space to learn, study and read, sure — but also to create, imagine, design and invent!
Instead of an ongoing makerspace with a variety of materials, we wanted to run different craft events, each for about two to four weeks. This allows students to gain exposure to different skills and keeps the makerspace vibrant and exciting. We planned a card-making event for the holiday season, figuring that students would be making cards in any case. The same activity could be done for Valentine's Day or any other holiday.
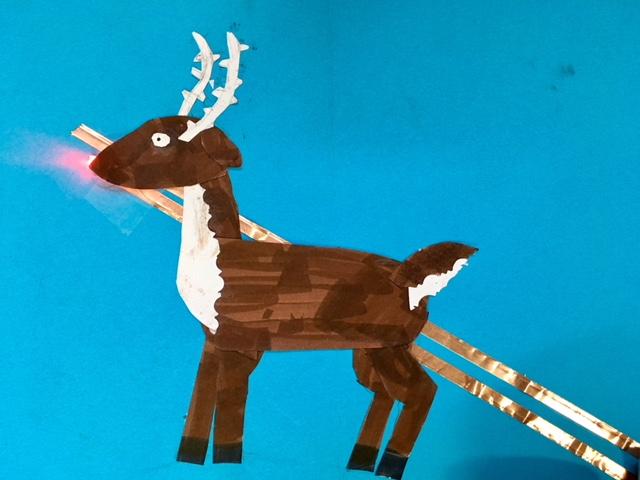
With the help of a SparkFun Community Partnership Program donation, we were able to purchase supplies for our “Light Up the Library” December event. Throughout the month, students made greeting cards and included paper circuit elements using copper tape, batteries and LEDs. Student library monitors volunteered at the makerspace each period, helping to teach skills (upon request), troubleshoot and keep materials organized. They quickly became adept at completing circuits and identifying the positive charge on an LED or battery!
The Basic Process
After a few days of experimenting, it became clear that certain steps would lead to a more successful light-up card:
- Students used cardstock for the backing of their cards. Cardstock was much easier than regular paper, and the cards were more colorful.
- Students created a basic circuit, thinking carefully about where their LED would sit and how the circuit would be completed. We had a limited number of switches and buttons from SparkFun, and many students simply folded over the corner of their card to complete the circuit, as in this demo template.
- Only AFTER completing a circuit did students decorate the remainder of the card.
- Student monitors took photos of their completed cards, sometimes creating GIFs to show off the light more effectively. This became a great promotional tool, as we have lovely photos to promote our next event!
Tips for Teaching It Yourself
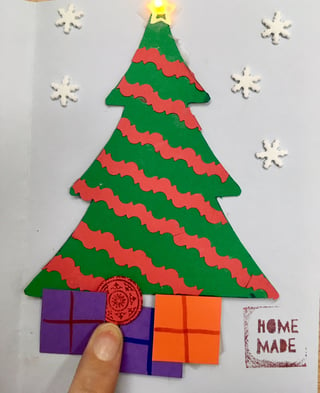
Become familiar with the basic circuitry before rolling it out with students. Create a few demo models that can help explain the process, especially for your more visual learners. These can also be useful in building enthusiasm.
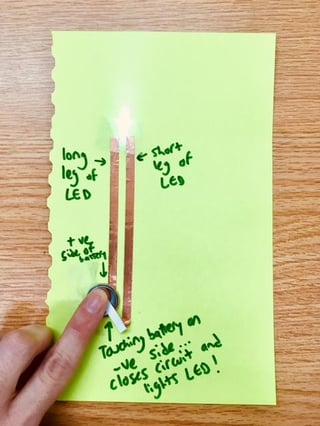
Since the cost of supplies can start to feel expensive, it helps to set some basic guidelines. For first-time students, we asked that everyone use only one battery and two LED lights. If they mastered those materials, we were more generous with the supplies. You can use a series of plastic bins or bead-sorting bins to keep the materials organized.
Paper Circuit Tips
- Try to avoid cutting the copper tape. Every time there is a break, it’s a place where the circuit might not connect. (Try folding the tape at corners instead of cutting it.)
- The back of the copper tape is sticky and often nonconductive (depending on what kind you get).
- The LED “legs” can be pulled apart and bent, but they are delicate...so be careful with them.
Materials
We used a number of materials at our “Light Up Our Library” event. Some were necessary, and others simply enhanced our cards.
Required Materials
- LED lights like these
- Coin-cell batteries (any size, really)
- Copper tape (the narrow kind is fine; no need for 2" wide, in my opinion)
- Scotch tape (the LEDs often need to be taped down to secure their connection)
- Cardstock or paper (or some other creative surface could work!)
- Scissors
Optional Materials
- Decorative paper (we also used translucent and reflective paper)
- Foamies
- Stamps and ink pads
- Hole punches
- Paper punches
- Glow-in-the-dark tape and Washi tape
- Markers and sharpies of all thicknesses, of course!
- Glue sticks
Additional Resources
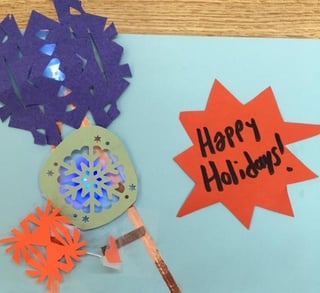
Books! Being in a library, we were excited to have a range of books available at our makerspace to support (and inspire!) students in their work and creations. These are some of the titles we found useful:
- "The Art of Tinkering: Meet 150+ Makers Working at the Intersection of Art, Science & Technology" by Karen Wilkinson (2013)
- "The Big Book of Makerspace Projects: Inspiring Makers to Experiment, Create, and Learn" by Colleen Graves (2017)
- "Beautiful Paper Cutting: 30 Creative Projects for Cards, Gifts, Decor, and Jewelry" by Lark Crafts (2015)
- "Making Books That Fly, Fold, Wrap, Hide, Pop Up, Twist, and Turn: Books for Kids to Make" by Gwen Diehn (1998)
- "The Pop-Up Book: Step-By-Step Instructions for Creating Over 100 Original Paper Projects" by Paul Jackson (1993)
- Washi Wonderful: Creative Projects & Ideas for Paper Tape" by Jenny Doh (2014)
- Simply Paper Cutting: Hand-Cut Paper Projects for Home Décor, Stationery & Gifts" by Anna Bondoc (2012)
- Paper Crafts Workshop. A Beginner's Guide to Techniques & Projects" by Marie Browning (2007)
- Artistry in Paper: Creating Beautiful Things With Origami, Papier Mâché, Pop-Ups, and Other Papercrafts" by Paul Jackson (2006)
- Paper Made!: 101 Exceptional Projects to Make out of Everyday Paper" by Kayte Terry (2012)
The Encyclopedia of Greeting Card Tools & Techniques" by Susan Pickering Rothamel (2011)
Promoting Your Event or Makerspace
In a school of almost 6,000, promotion is crucial and helps us share the exciting things happening in the library. We have a large banner and student-created pennant to identify our makerspace.
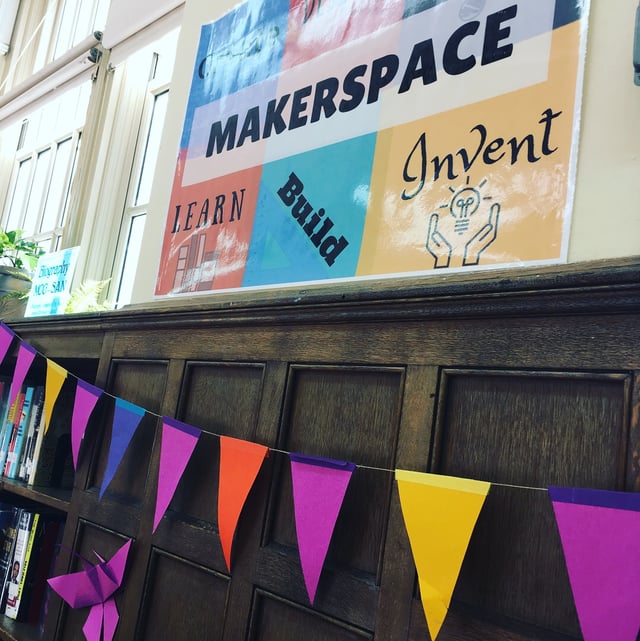
We also put up signs at the makerspace promoting current and upcoming activities. For the paper circuit activity, makerspace library monitors were present to help other students with circuitry and show them our book resources. The monitors also took photos of completed cards, which we posted on our Instagram account daily and in our school’s daily announcement emails. Staff and monitors stood along the line for the library and made our cards flash on and off, after which many students wanted to visit our makerspace!
Want to try making paper-circuit cards with your students? Why not plan an activity for Valentine's Day? Check out SparkFun's step-by-step tutorial here.
Joanna Drusin is a Library Media Specialist at Brooklyn Technical HS. Previously, she was a middle school ELA teacher for nine years at schools in Brooklyn and Manhattan. She holds a National Board of Professional Teaching Standards certification in English. When she’s not busy with book- or research-related tasks, she loves exploring thrift stores, being outside in the sunshine, designing posters on Canva and hanging out with her husband and 2-year-old reading enthusiast son. Visit the library website at http://bthslib.weebly.com, follow our Instagram account @BrooklynTechLibrary or send Joanna an email: jdrusin@bths.edu.




paper circuits, Guest Post, basic circuits, Community Partnership Program