
As I attend conferences and education events, the topic that seems to be on everyone's lips is augmented and virtual reality. After doing some research, I wanted to see what it would take to introduce AR / VR into the classroom. I found a tool called A-Frame that seems to fit the bill nicely.
What is A-Frame?
A-Frame is a web-based virtual reality program that allows teachers and students to explore virtual reality through HTML coding. A-Frame uses a JavaScript engine that attaches to the HTML script and runs the virtual and augmented reality functions of the program that has been created. Creating programs in A-Frame is as simple as writing HTML. Let's follow a few simple examples.
Creating Programs with A-Frame
Take the code below and paste it into a Word document and title it something like “aFrame.html”
I save all my A-Frame programs in a folder called, surprisingly, “AFrame”.

#####Begin code####
<html>
<head>
<script src="https://aframe.io/releases/0.8.0/aframe.min.js"></script>
## <script src="https://unpkg.com/aframe-environment-component/dist/aframe-environment-component.min.js"></script>##
</head>
<body>
<a-scene>
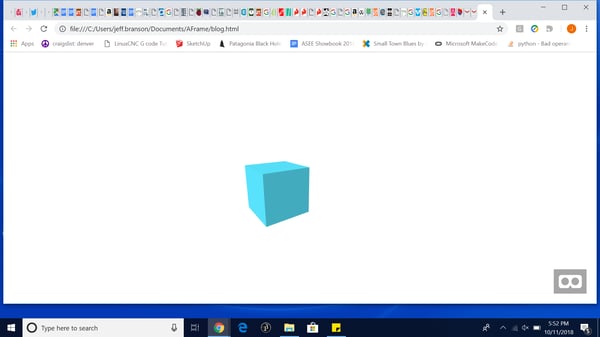
<a-box position="-1 0.5 -3" rotation="0 45 0" color="#4CC3D9"></a-box>
</a-scene>
</body>
</html>
#####end code###
After you’ve saved your code, navigate to it in your file browser. You'll see that next to it it has a choice relating to to a web browser. I use Chrome, but A-Frame is a product of Mozilla and is designed to run in Firefox. Ff you click on the file, it will open up in a web browser and you can navigate using the arrows and the trackpad. The arrows control your motion in the virtual environment. The trackpad controls your view in the virtual environment.
Digging in to the code
At the top, in the head, we actually call the JavaScript engine that runs the webvr platform. With this line of code:
“<script src="https://aframe.io/releases/0.8.0/aframe.min.js"></script>”.
In the body of our code, we create a box with a box tag. We then position that box on the x-axis the y-axis and the z-axis is actually depth into your screen.
Documentation for A-Frame is relatively straightforward and some great code examples exist at https://aframe.io/ .
One of the first things I dug into was creating a custom controller. Any Arduino that is capable of being recognized as an HID device will actually serve as a controller for A-Frame. I grabbed one of our wireless joystick controllers, I loaded the code from here on my GitHub and away I went with a custom controller.
A-Frame is set up out of the box to work with many of the virtual reality platforms like the HTC Vive and the Oculus Rift. It also works with all of the Google cardboard controllers and will run on phones and tablets.
This is about as simple as it gets in terms of getting started with virtual reality. Let us know how it goes for you!
helpful information, computer science, STEM