If you are already teaching Python in the classroom, MicroPython can be a fantastic way to introduce microcontrollers into the mix to interact with hardware by blinking lights, responding to button pushes and reading sensors. MicroPython is an implementation of Python 3, and it has been scaled down and made very efficient to be able to run on tiny microcontrollers, including the popular micro:bit.
The structure and syntax of a MicroPython program is the same as a regular Python program. Many of the advanced features, such as the ability to create graphics, have been removed, as most microcontrollers do not rely on a graphical interface. Additionally, a number of the Python standard libraries can still be used but have been "micro-ified" to run on less powerful hardware. You can read more about these libraries in the MicroPython documentation.
For the Younger Crowd
The micro:bit is a perfect starting microcontroller platform for students in grades 6-8 (11-14 years old). In the past, we've shown how to use the drag-and-drop graphical programming environment known as MakeCode to create projects that incorporate electronics.
Several teachers have anecdotally mentioned that around grade 7, many students want to go beyond the drag-and-drop and move into text-based programming. The micro:bit is a perfect platform for this transition, as it can be programmed with a variety of languages, including MicroPython. Python (and its MicroPython kin) is a great introductory language for these students thanks to a variety of factors:
- Dynamically typed variables
- Easy early wins with small amounts of code
- Accessible standard libraries
- Interactive interpreter allows students to "test out" lines of code
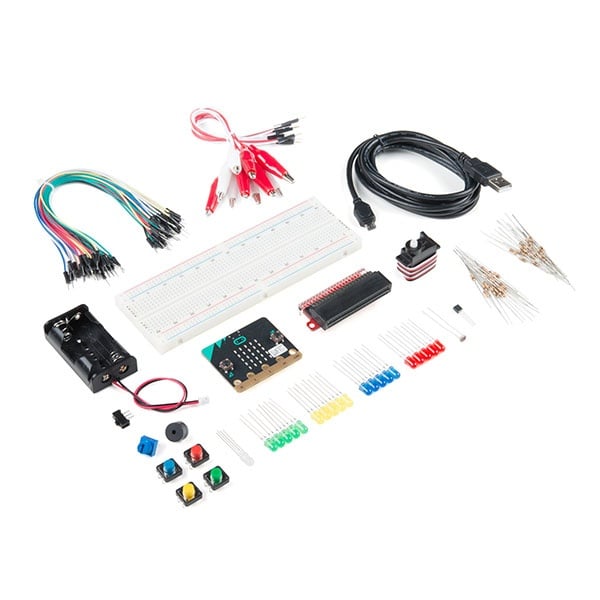
Several options exist for getting started with MicroPython on the micro:bit. SparkFun's Inventor's Kit for micro:bit has a secondary experiment guide, where all the activities are repeated with MicroPython instead of MakeCode:
Getting Started with MicroPython and the SparkFun Inventor's Kit for micro:bit
To understand the syntax of MicroPython, the following two YouTube videos (combined in a playlist) show how to get started by blinking a few LEDs on the micro:bit using MicroPython in the Mu editor:
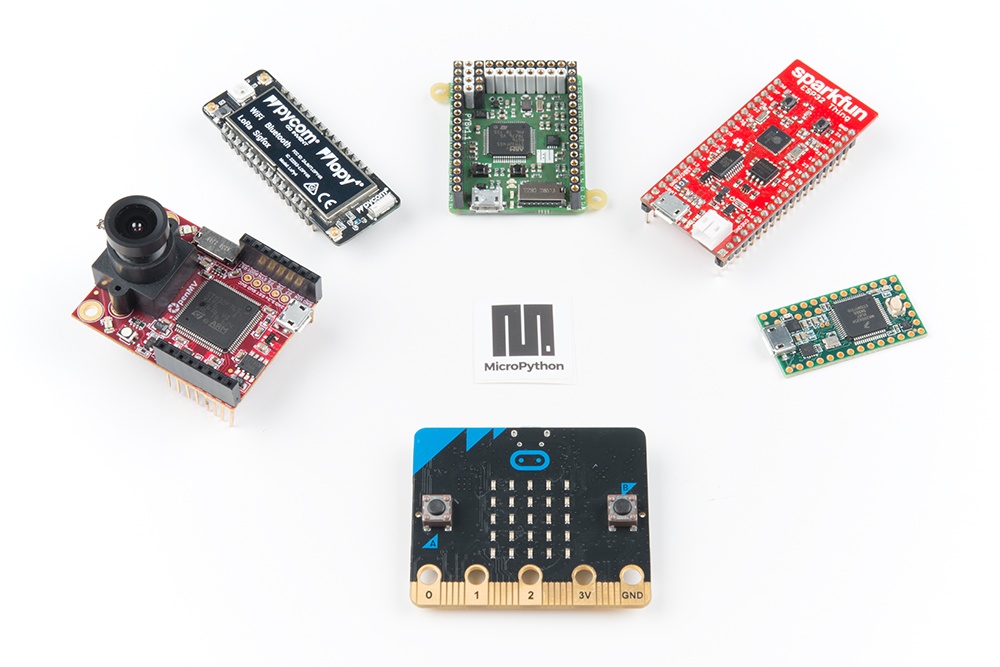
If the micro:bit feels a bit too much like a toy for your students, then the good news is that MicroPython can be run on a number of different microcontroller boards.
For the Advanced Users
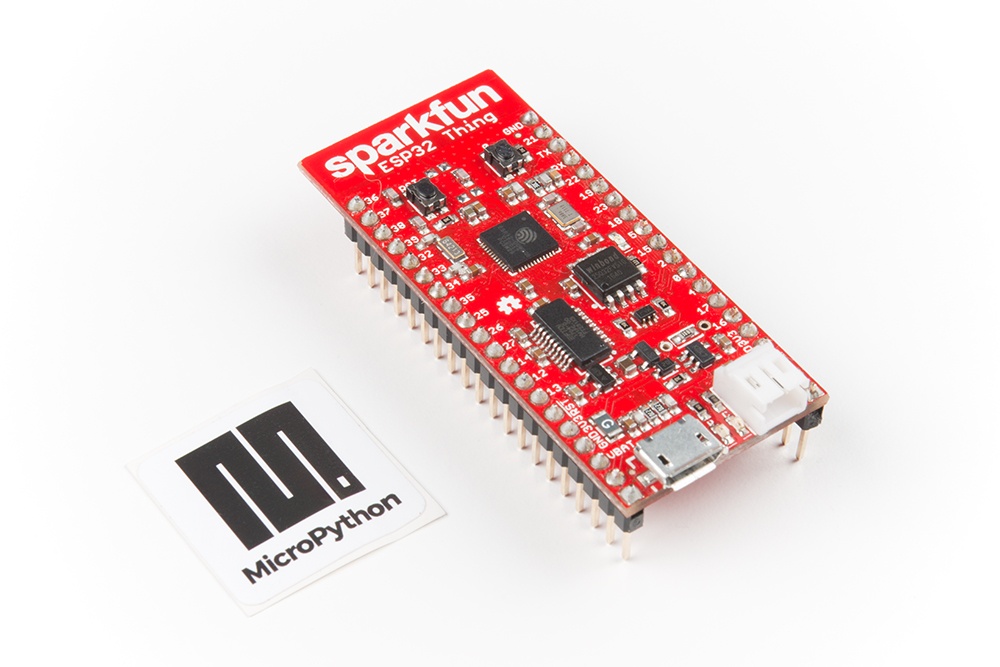
The ESP32 is a particularly good choice among the batch due to its powerful processor, onboard WiFi and relatively low cost.
The SparkFun ESP32 Thing can be configured to run MicroPython with a few steps from a host computer and access to a command line interface (i.e. a terminal). The following tutorial shows how to load the MicroPython interpreter onto six different boards, including the ESP32 Thing:
How to Load MicroPython on a Microcontroller Board
Once MicroPython is running on the ESP32, it's time to create some projects. Understanding a few of the basic building blocks for interacting with hardware is often the first step, followed by combining them into projects. The next tutorial in the MicroPython series demonstrates some of the building blocks for the ESP32 Thing:
- Controlling the voltage on a pin
- Reading the digital state of a pin
- Pulse width modulation (control the brightness of an LED or speed of a motor)
- Reading the analog voltage of a pin (useful for knob controls or some sensors)
- Communicating over I2C (useful for many modern digital sensors)
- Downloading information from a web page (introduction to the Internet of Things)
The MicroPython Programming Tutorial demonstrates each of these concepts on the ESP32 Thing:
MicroPython Programming Tutorial: Getting Started with the ESP32 Thing
Keep in mind that MicroPython is a relatively new addition to the Python world. As such, it is a continually evolving language with new board support being added every few months. If you are interested in digging deeper into the language, the official documentation can be found here.
If you are currently using the micro:bit (or other microcontroller board) in your classroom, what issues have you run into, or what lessons have you learned? Let us know in the comments!


python, micro:bit, microcontroller