
My students enjoy playing a micro:bit-based game I help them code, but this year I wanted to extend the learning by having them create a controller for the game.
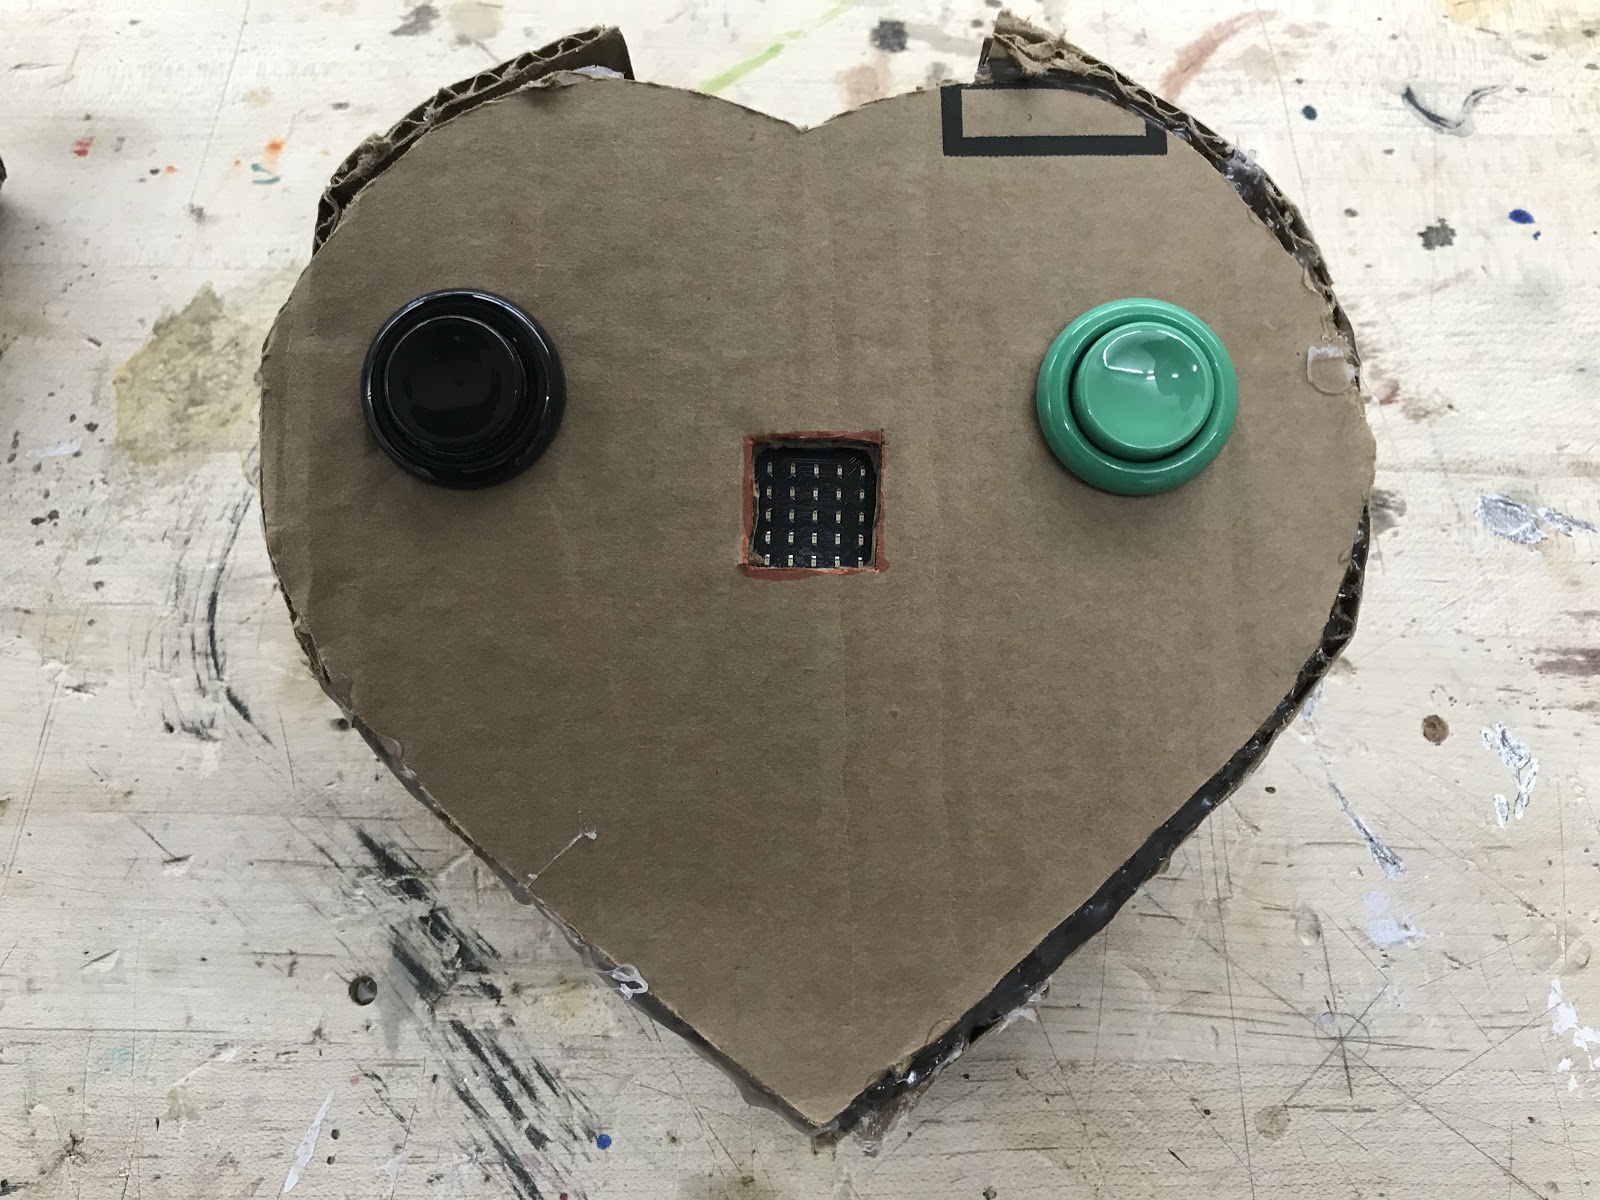
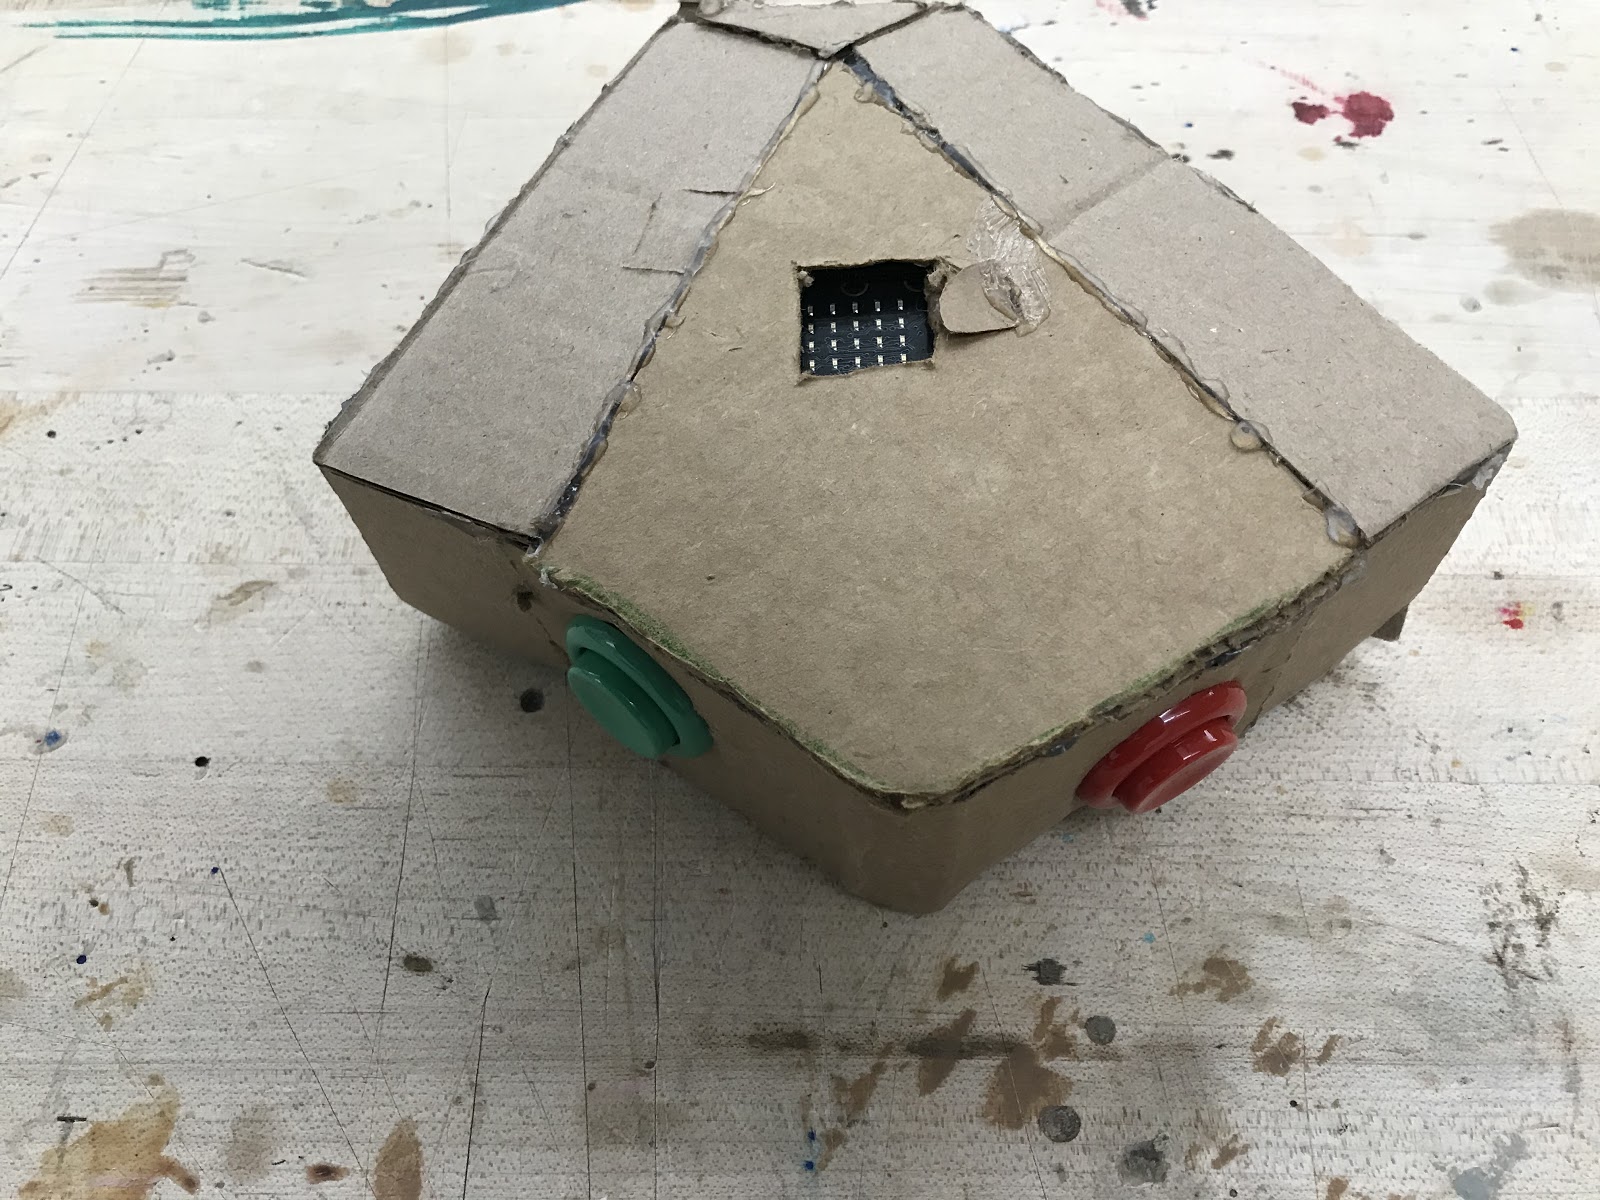
The game uses button A to move a “tank” to the left, button B to move it to the right and button A+B to shoot missiles at the rocks that are raining down from the top of the screen. If the player destroys the rock, he gains a point, but if the rock hits his tank he loses a point.
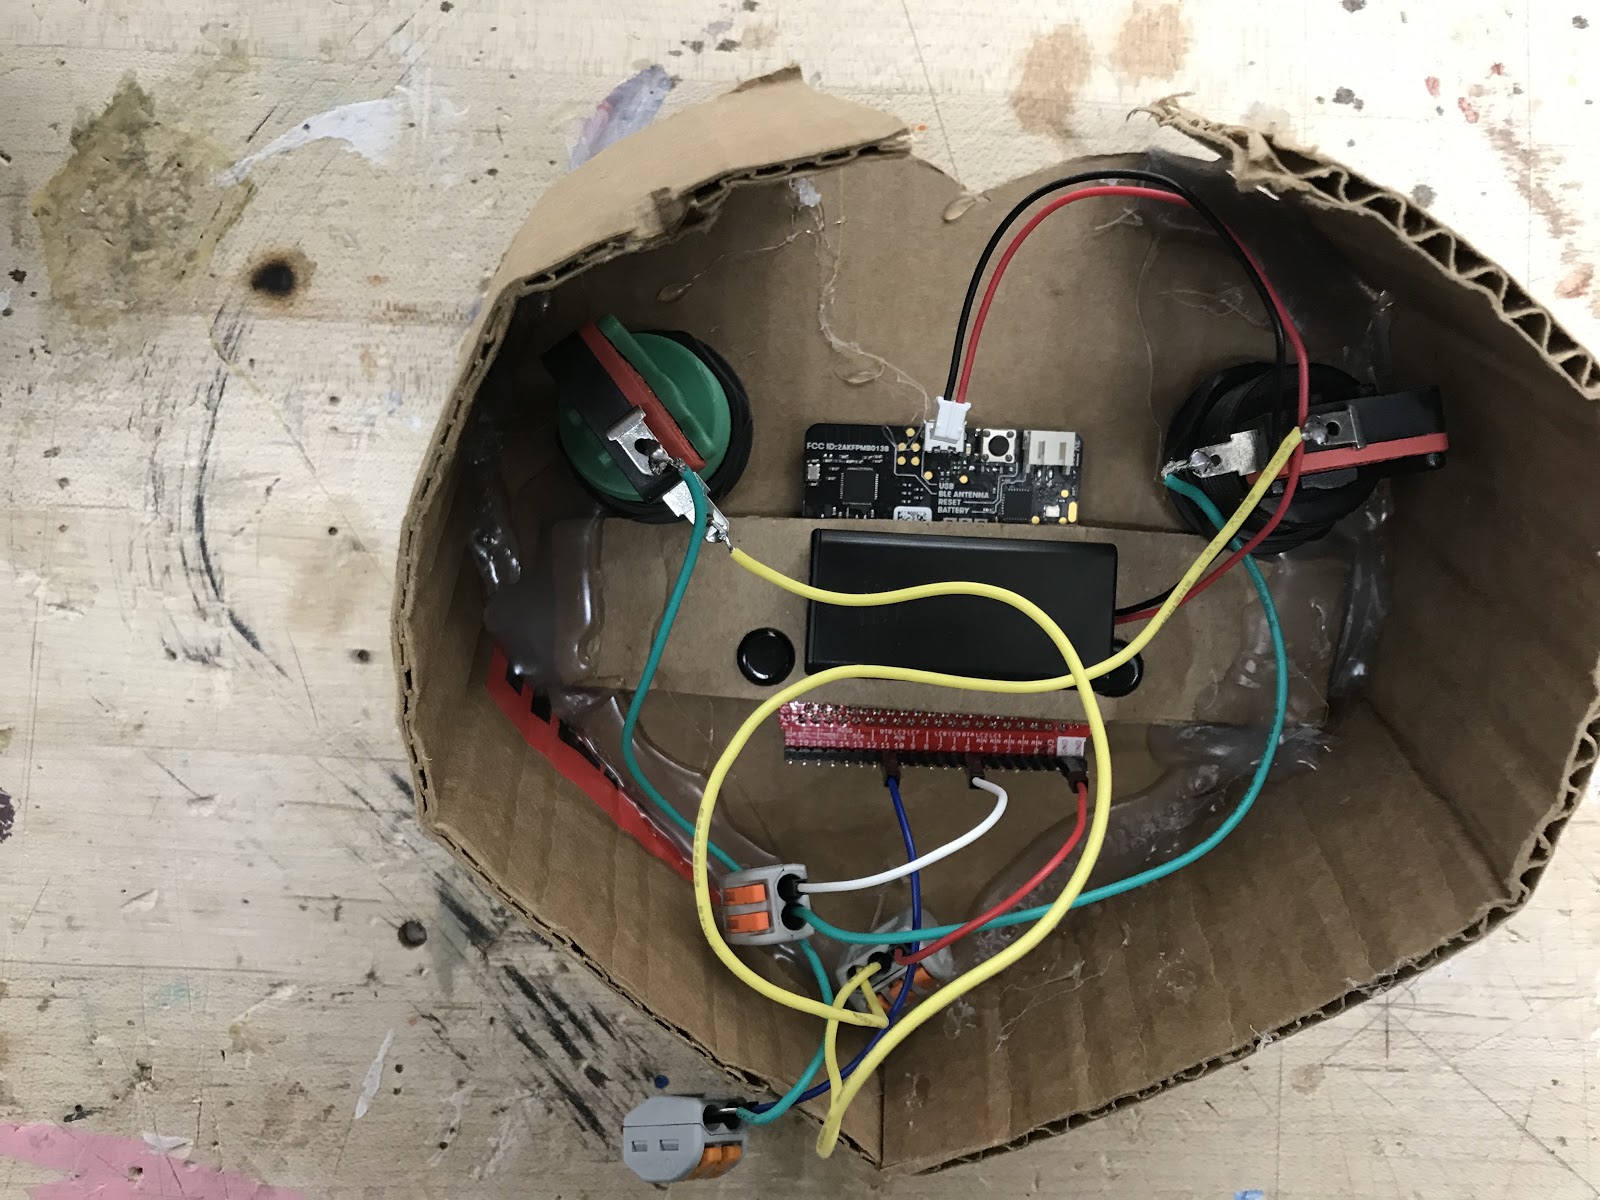
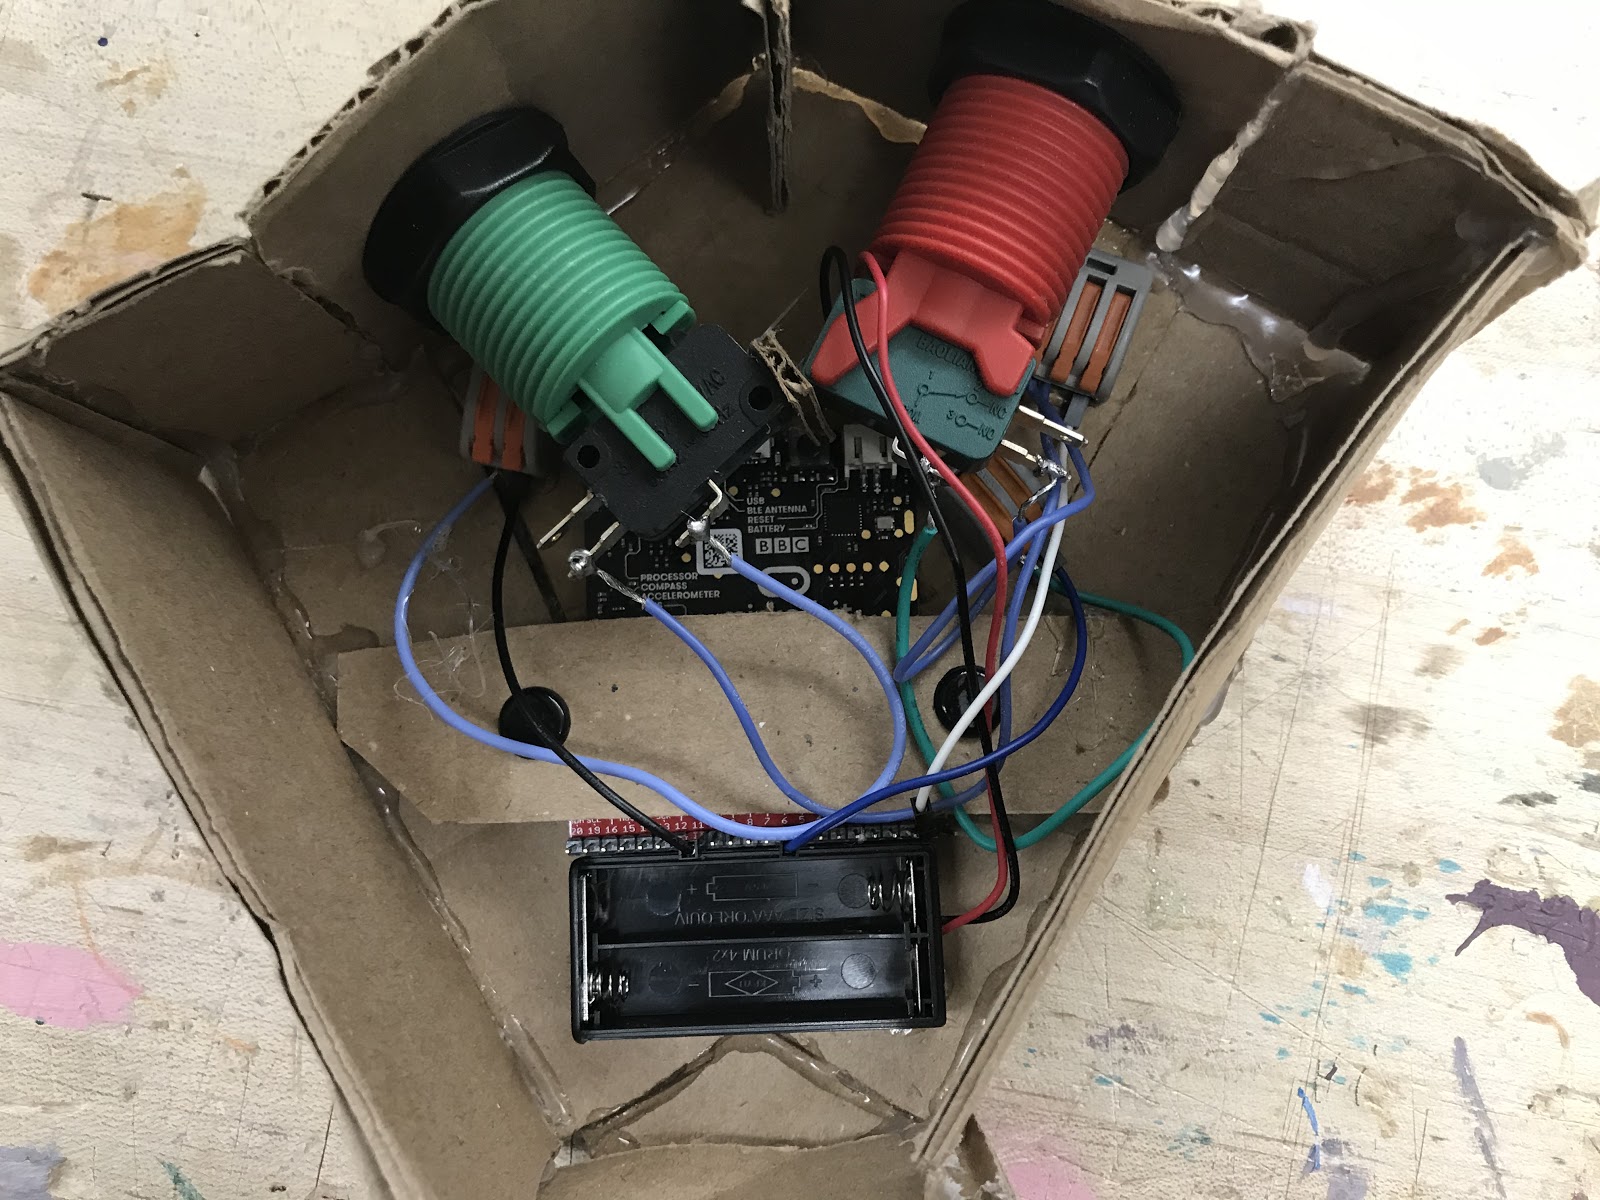
When designing the controller, I required that it be ergonomically appropriate for a handheld game, keep the original game play and that all parts be held securely in place yet not be hot glued. The last bit led to some interesting methods of construction.
My version of the game used plastic rivets to attach a cardboard strap to the SparkFun micro:bit breakout’s two convenient mounting holes. I then used hot glue to hold the strap to the back of the controller so that the player could clearly see the 5 x 5 LED matrix on the micro:bit.
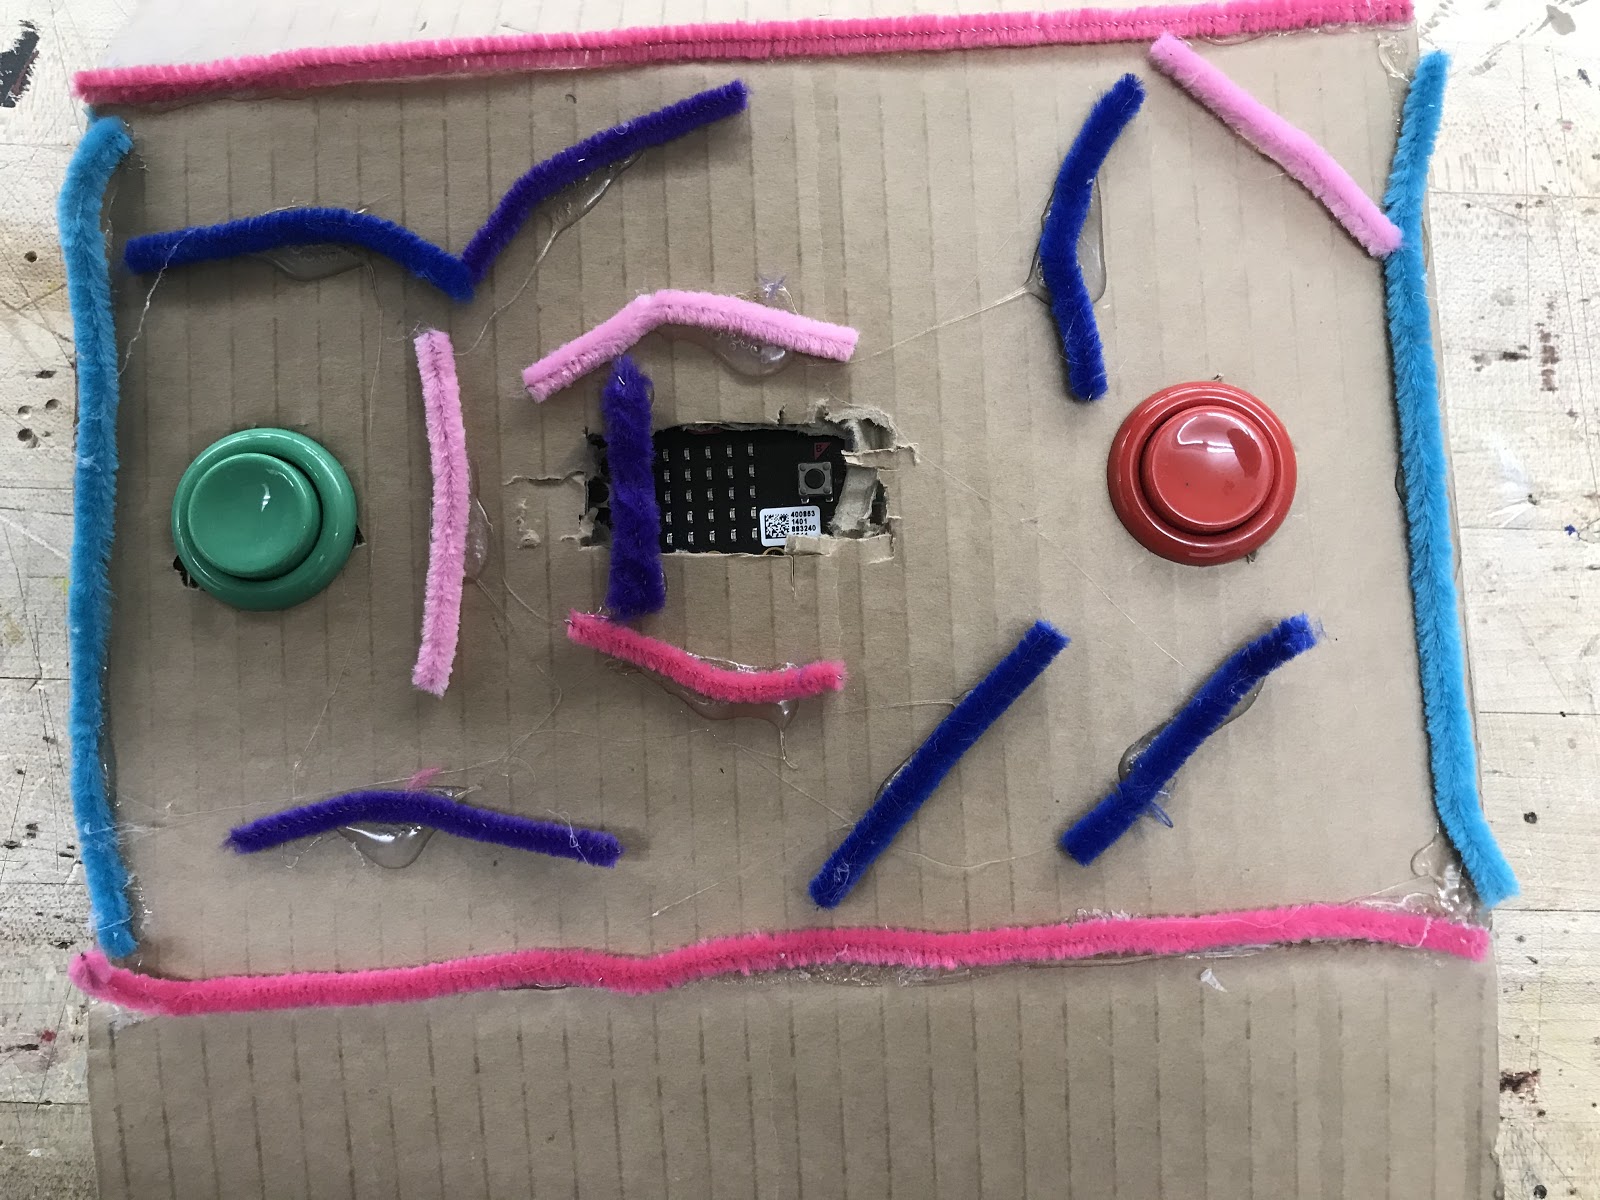
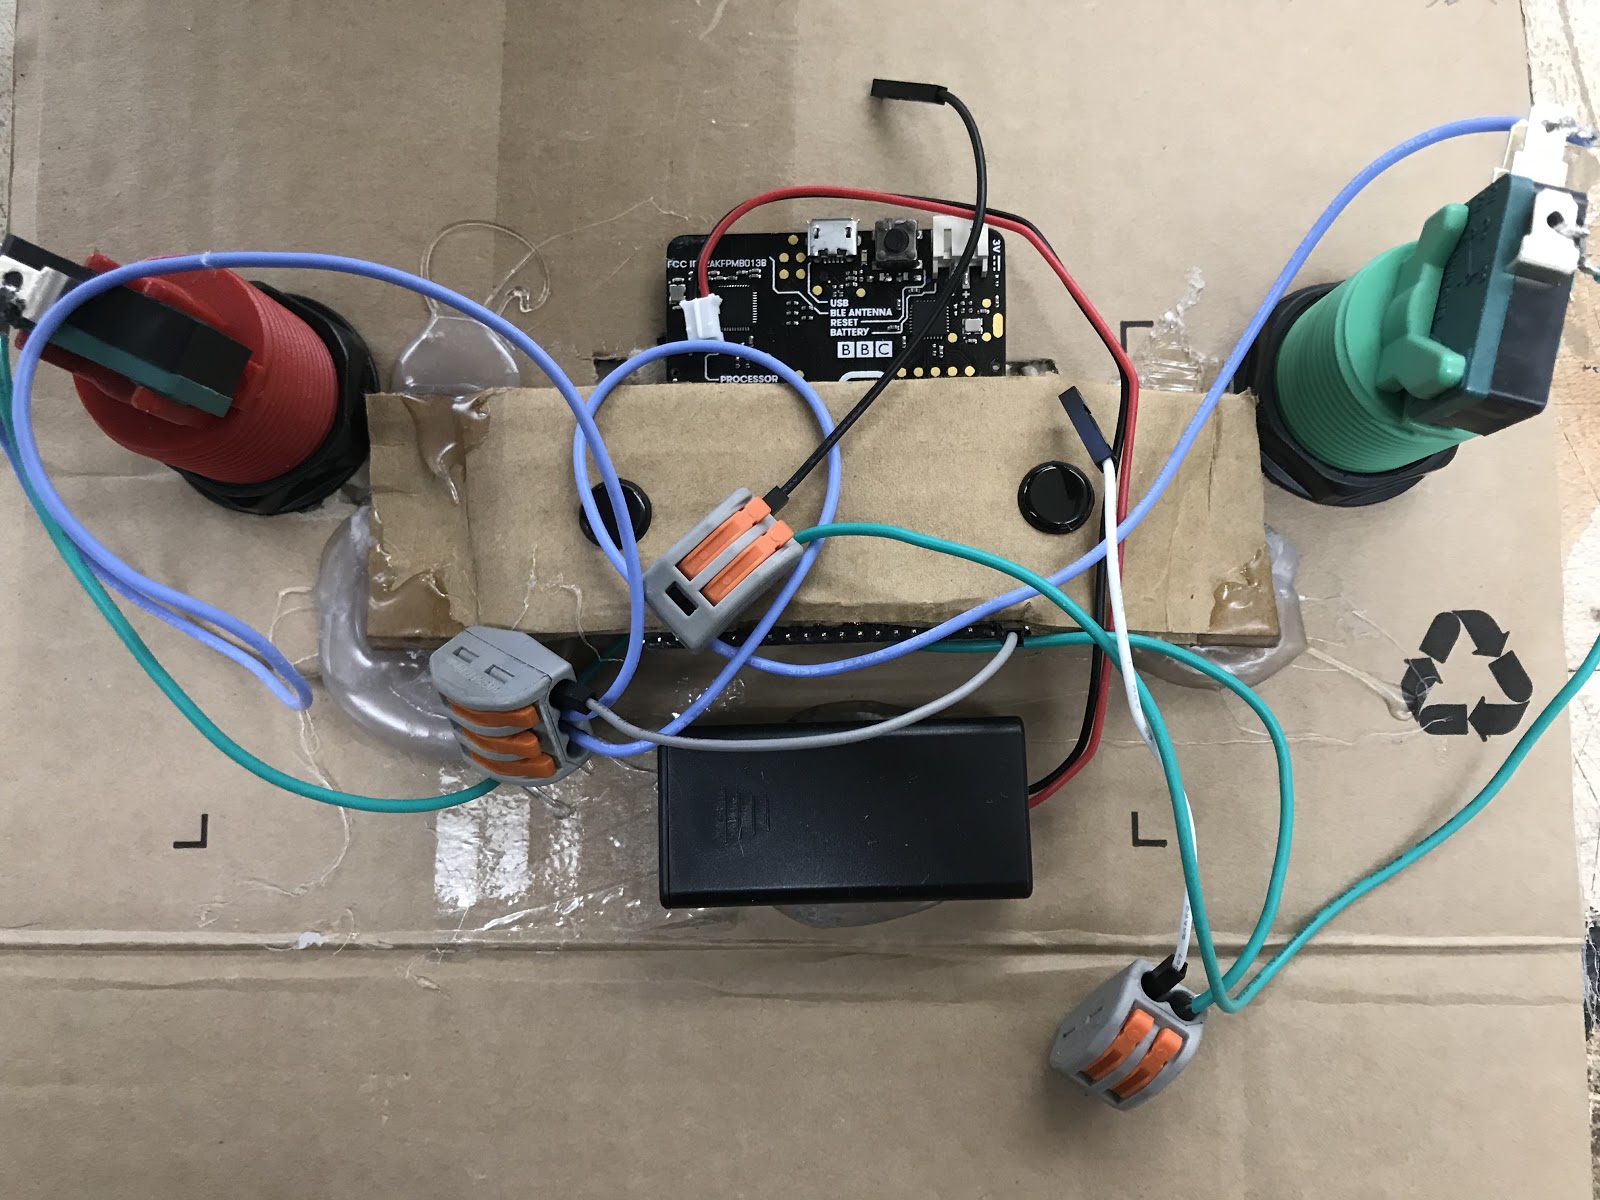
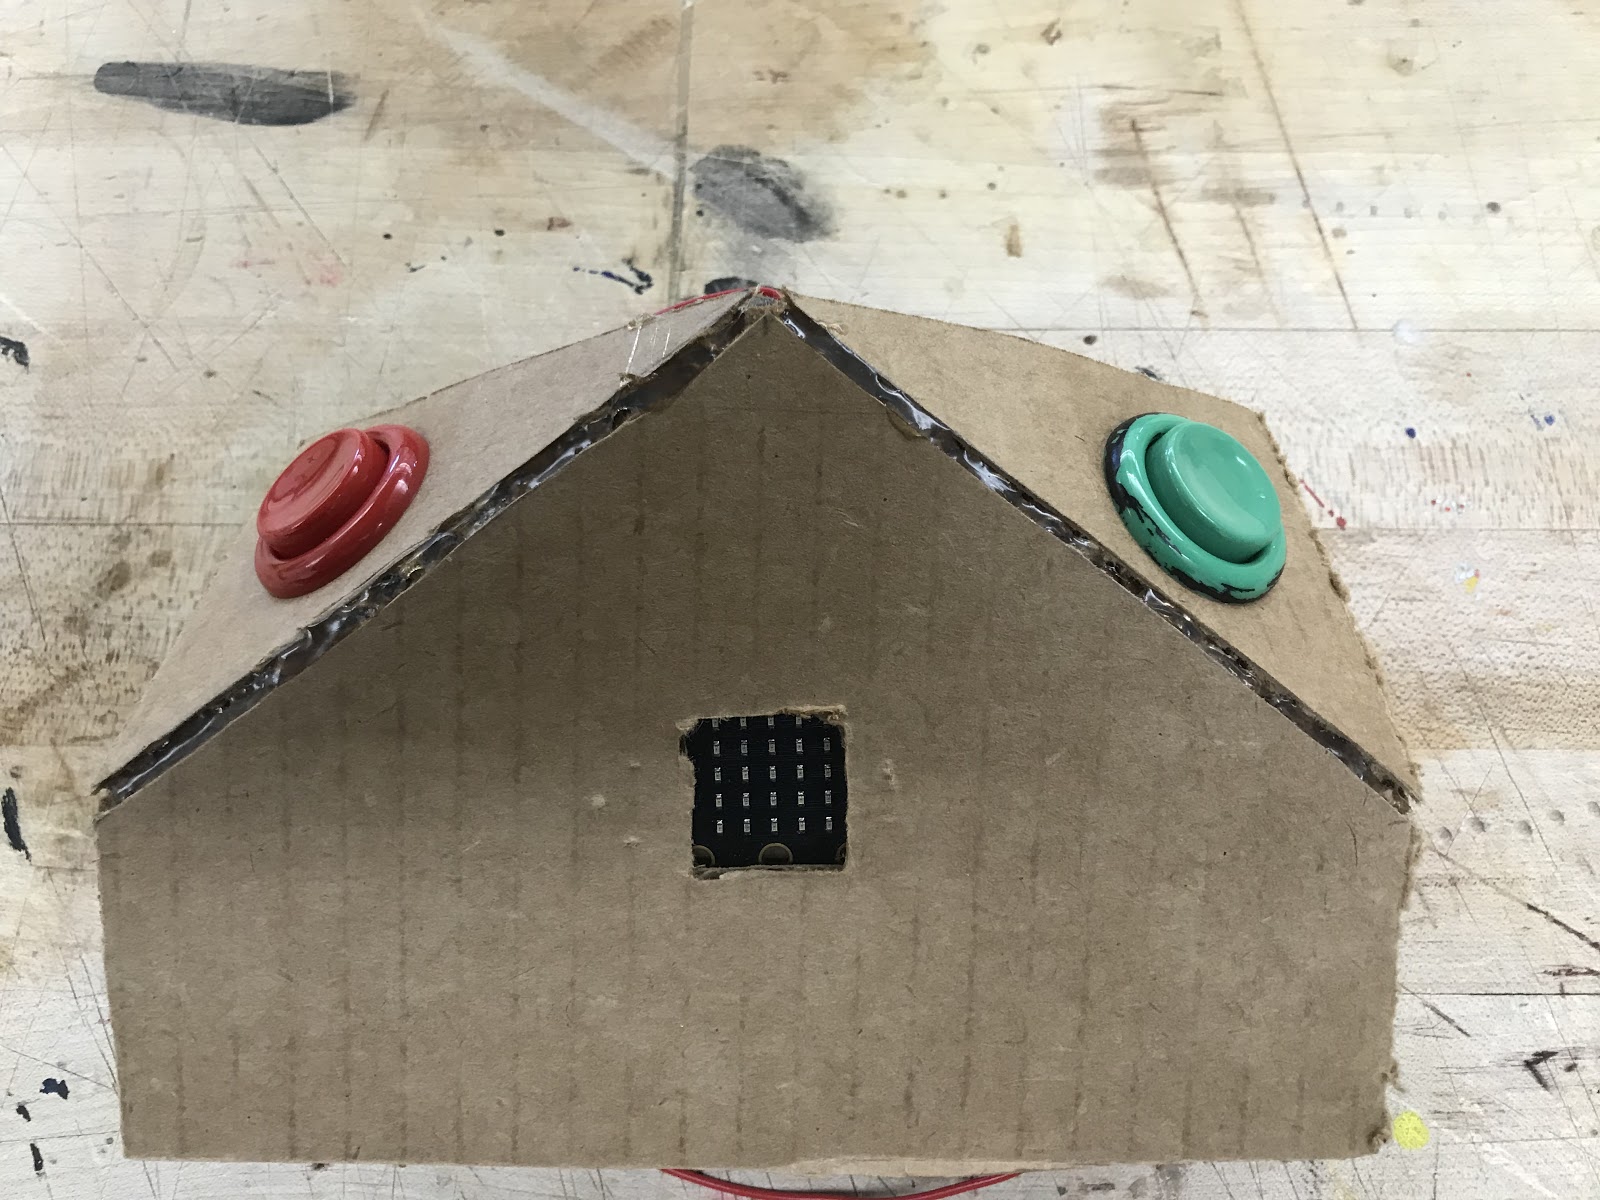
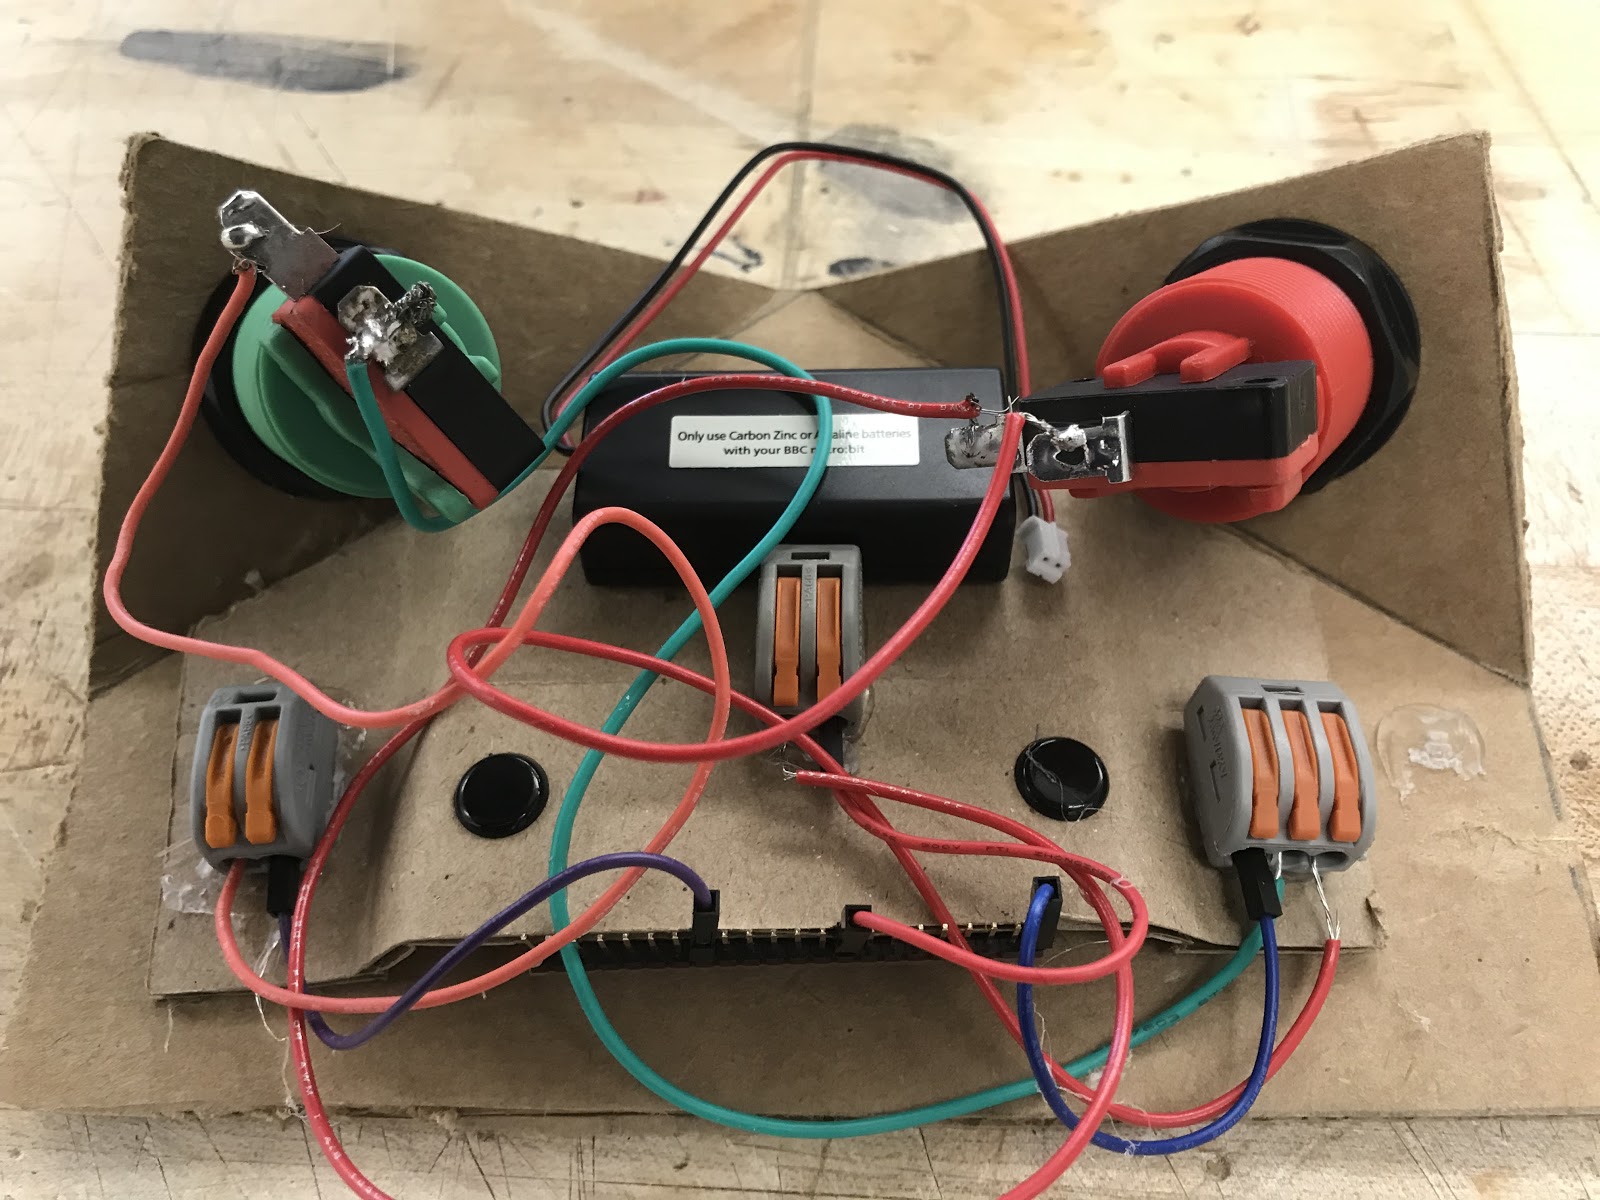
Here are some of the kids’ creations:
 |
 |
 |
 |
 |
 |
 |
 |
Materials Used
From SparkFun:
From Adafruit
- Plastic Pop Rivets for Cardboard Crafts (100 pack)
From Amazon
- Wago lever-nut connectors
Get the code for my tank game here.
student projects, micro:bit