My greatest frustration with science class when I was in school was during labs. For some reason I saw them for what they were…rule-following exercises. Think about it for a second. The lab stations are set up the same way, everyone gets the same handout, and there are correct conclusions that everyone should come to…if they followed the rules.
That concept is what fueled my endeavors in my classroom to make science as authentic and exciting as possible for my students. Now I know that “real” science isn’t glorious or sexy all of the time — in fact, most of the time. But, my job was to inspire my students, to build interest and to help them engage with what was going on around them.
My time in the classroom was well before the micro:bit came on the scene about a year ago. I wish it had been available when I was teaching; it honestly would have changed my practice in so many ways. Probably the primary way would have been the little amount of base learning that students need in order to build instrumentation for use in even the simplest citizen science. Yes, you could just have your students follow instructions to build a weather station with an Arduino and upload some code, but that isn’t my philosophy. I want to empower students to truly harness the power of a microcontroller and then inspire them to use it as a material, not just a fabricated tool.

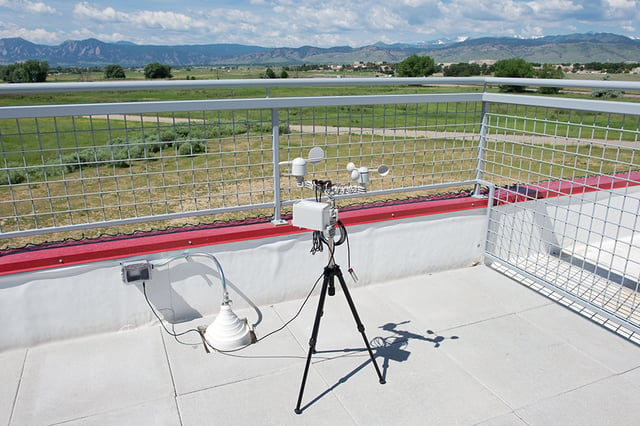
Our Arduino-based weather station with example code. We love it, but it takes time to build.
With the micro:bit and the micro:climate kit classrooms can cut down the amount of time between blink and awesome to days rather than weeks. Through the use of Microsoft MakeCode students can program in Blockly style programming or text using JavaScript (type script), which gives the instructor the flexibility and choice of what to focus on.
Teachers can spend a few days with their students to learn the basics of programming the micro:bit on its own through a wide variety of projects and tutorials online.
Once your students get a handle on the basics, you can introduce the step-by-step guide that walks them through building up a weather station for the micro:bit and learning how to read each sensor in a simple and compartmental way that enables them to mash up pieces of code to collect the data they are looking for. From start to finish your students should be able to assemble a weather station within a 50-minute class period and begin programming it.

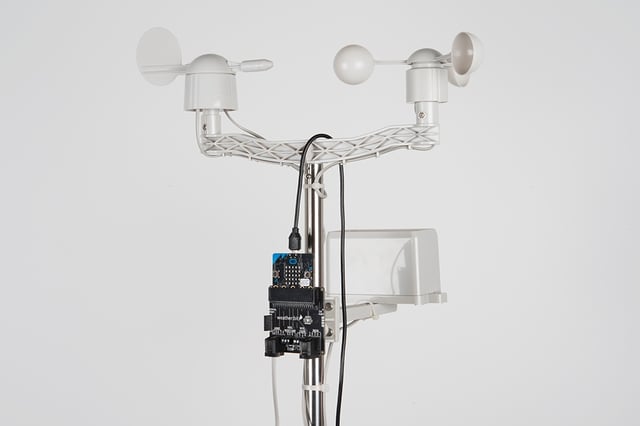
Our micro:bit based weather station that uses the micro:climate kit, built in 30 minutes!
When your students start to get their weather data using the kit, the next step is figuring out how to capture it. The kit includes a SparkFun OpenLog, which plugs into the weather:bit carrier board and allows you to write any data you like to a microSD card. The final experiment of our guide covers how to do this. From there you are a few quick steps to importing that data into your favorite spreadsheet application for your students to analyze, graph and share with others.
The maker culture has made huge impacts in the classroom. The biggest impact that has come from it is enabling everyone — students, teachers and hobbyists — to build something meaningful, explore the world around them and challenge the norm. I urge you to take a look at exploring the world around you in your classroom through combining citizen science and "making" to foster curious students who are critical of what they are being told and who challenge the norm, collect authentic data and come to their own conclusions.
If you are already doing this with your students, that is awesome, and you were probably nodding along with this blog post. We would like to hear about what you are doing! Please share your ideas, questions and arguments with us through the comment section, social media or email! Now, go forth and do science!


micro:bit, weather