Creating your own sensors for e-textiles, soft circuits and wearables is a uniquely creative way to dive a bit more into the inner workings of sensors and switches. In addition to being a relatively inexpensive alternative to pre-manufactured sewable electronics pieces, DIY sensors and switches offer customization and design opportunities for student projects that require only a trip to a local craft or hobby store. Read on for our four favorite techniques.
1. Sewable Snaps as Switches
One easy way to add a customized on/off switch to a project is sewing in a snap with conductive thread in place of a LilyPad Slide Switch.
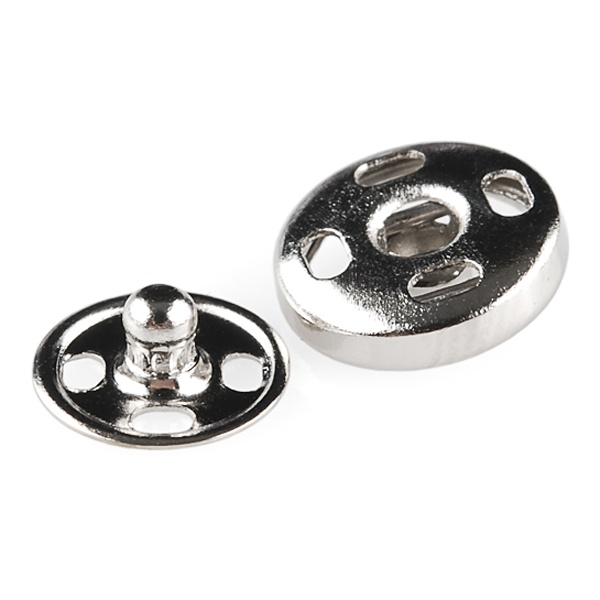
SparkFun carries a Snap Assortment that works well with our needle sets and projects.
Tips for selecting a snap for your project:
- Verify that it is made out of a conductive material; plastic snaps or coated metal snaps will not work.
- Check that the sewing spaces are large enough to accommodate the needle you or your students will be using.
- Test the snapping function — are the snaps easy to snap together and apart?
Watch Feldi, a SparkFun Creative Technologist, construct a circuit with snaps in this video (snap project begins ~2:51):
For more information on how switches work and building projects using snaps, check out these resources:
2. Magnetic Clasps as Switches
Another great way to experiment with crafting temporary attachments and switches is to try out magnets. Magnetic snaps (often found in the accessory and purse/bag making aisle of craft stores) and magnetic clasps (found in the jewelry aisle) offer two interesting ways to prototype: they can operate as a switch or a way to add modular components to a project.
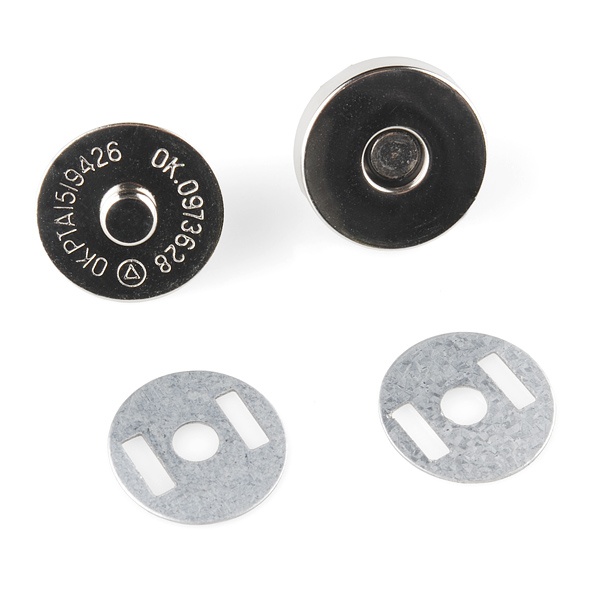
SparkFun carries 18mm Magnetic Snaps, which we found work well in projects.
Tips for selecting a magnetic clasp for your project:
- Verify that it is made out of a conductive material and has no insulating coating.
- Pull test the clasp — are the magnets too strong or will they pull apart your project or stitching?
- Choose a clasp that will be easy to attach to — will a needle and thread fit through any holes or loops on it and make a good connection to the conductive surfaces?
Here's an example of an LED in a crochet flower made modular with magnetic jewelry clasps:
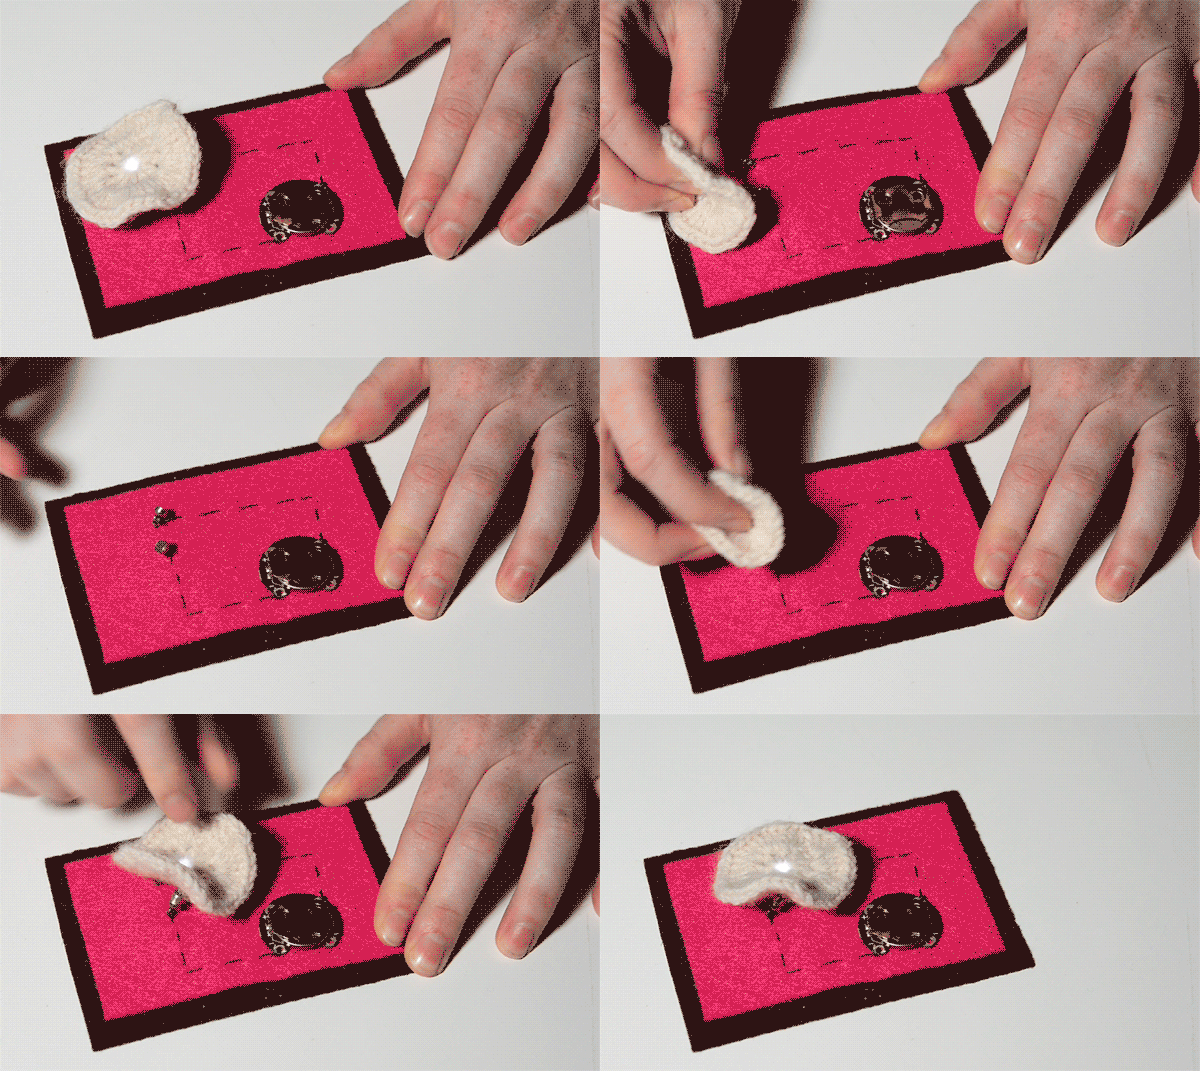
For more information on adding magnets to your project, check out these resources:
- LilyPad Reed Switch Hookup Guide
- Metal Fasteners Overview from How to Get What You Want
3. Zippers as Switches and Sensors
Using a zipper as a sensor is a way to augment an existing interaction you may already have with clothing and wearables. There are a few ways to create both digital and analog sensors out of zippers, which we first saw documented by Joo Youn Paek in a class called Sensor Workshop at NYU's Interactive Telecommunications Program (ITP). Both techiques require using a zipper with a metal zipperhead and/or metal zipper teeth. Sew or attach conductive material along opposite sides of the zipper, and the sides are connected when the zipper head stops across them, providing a path for current flow.
Here's an example of a zipper as a switch I built as part of a soft circuit techniques "scrapbook." This project also uses snaps so that the sensor can be detached and another used in its place. Zipper switches can be used for simple circuits or as input to a microcontroller.
Tips for selecting a zipper for your project:
- Verify that the zipper head is made out of a conductive material and has no insulating coating; all-metal zippers are a nice option as well.
- Opt for a wide-tooth zipper — it will make stitching conductive thread in between the teeth easier.
- Test zipping action — is it easy to activate for your user?
These connected DJ Hoodies from Kobakant use a variety of custom sensors, including zipper sensors, to select one of four filters to apply to an audio sample channel during a live performance.
For more information on creating your own zipper sensors, check out these resources:
- Zipper Sensor Report from ITP Sensor Workshop
Zipper Switch from How to Get What You Want
4. Metal Beads for Simple Tilt/Motion Sensors
To add simple motion sensing to a project, you can craft a tilt sensor using a conductive material such as conductive fabric, aluminum foil attached with iron-on interfacing, or thick embroidered patches of conductive thread as contact points. Then use conductive thread and a metal bead or conductive pom pom that will touch the patches as it moves around and complete a circuit at each contact point. These sensors can be used in simple circuits (to turn on LEDs at each patch) or as inputs to a microcontroller.
A tilt sensor example made with a metal bead, conductive thread and conductive fabric. When the bead touches the patches, the LEDs light up:
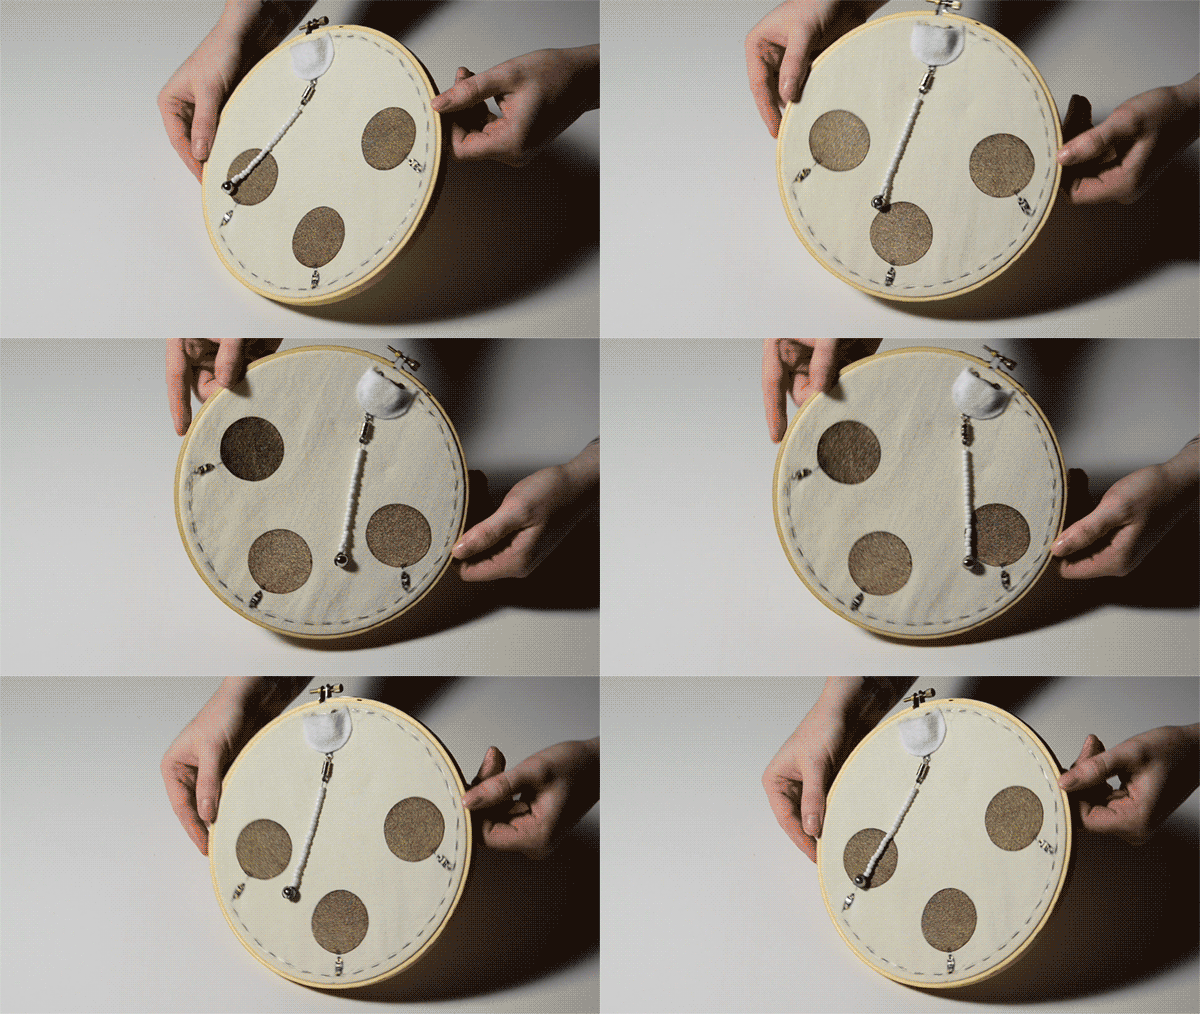
Tips for creating a tilt sensor for your project:
- Make sure the conductive bead will touch all of the conductive patches on the project, measure and prototype before final construction.
- Opt for a wide-tooth zipper; it will make stitching conductive thread in between the teeth easier.
- Test zipping action — is it easy to activate for your user?
The Masai Dress from Studio 5050 is a beautiful and fashionable implementation of a motion sensor out of beads and conductive fabric integrated into the design of a garment. The conductive thread and bead sensor trigger sound clips that create a unique soundscape as the wearer moves.
For more information on how to create conductive tilt sensors, check out these resources from How to Get What You Want:
What ways have you used craft materials to create unique switches and sensors in your classroom or educational program? Show us in the comments!

e-textiles, STEAM