In March, we shared our techniques for building paper circuit teaching tools — large props to help students understand project construction techniques. This post will show you how to build and use a set of teaching props focused on using LilyPad sewable electronics pieces to aid with introductory e-sewing demonstrations.
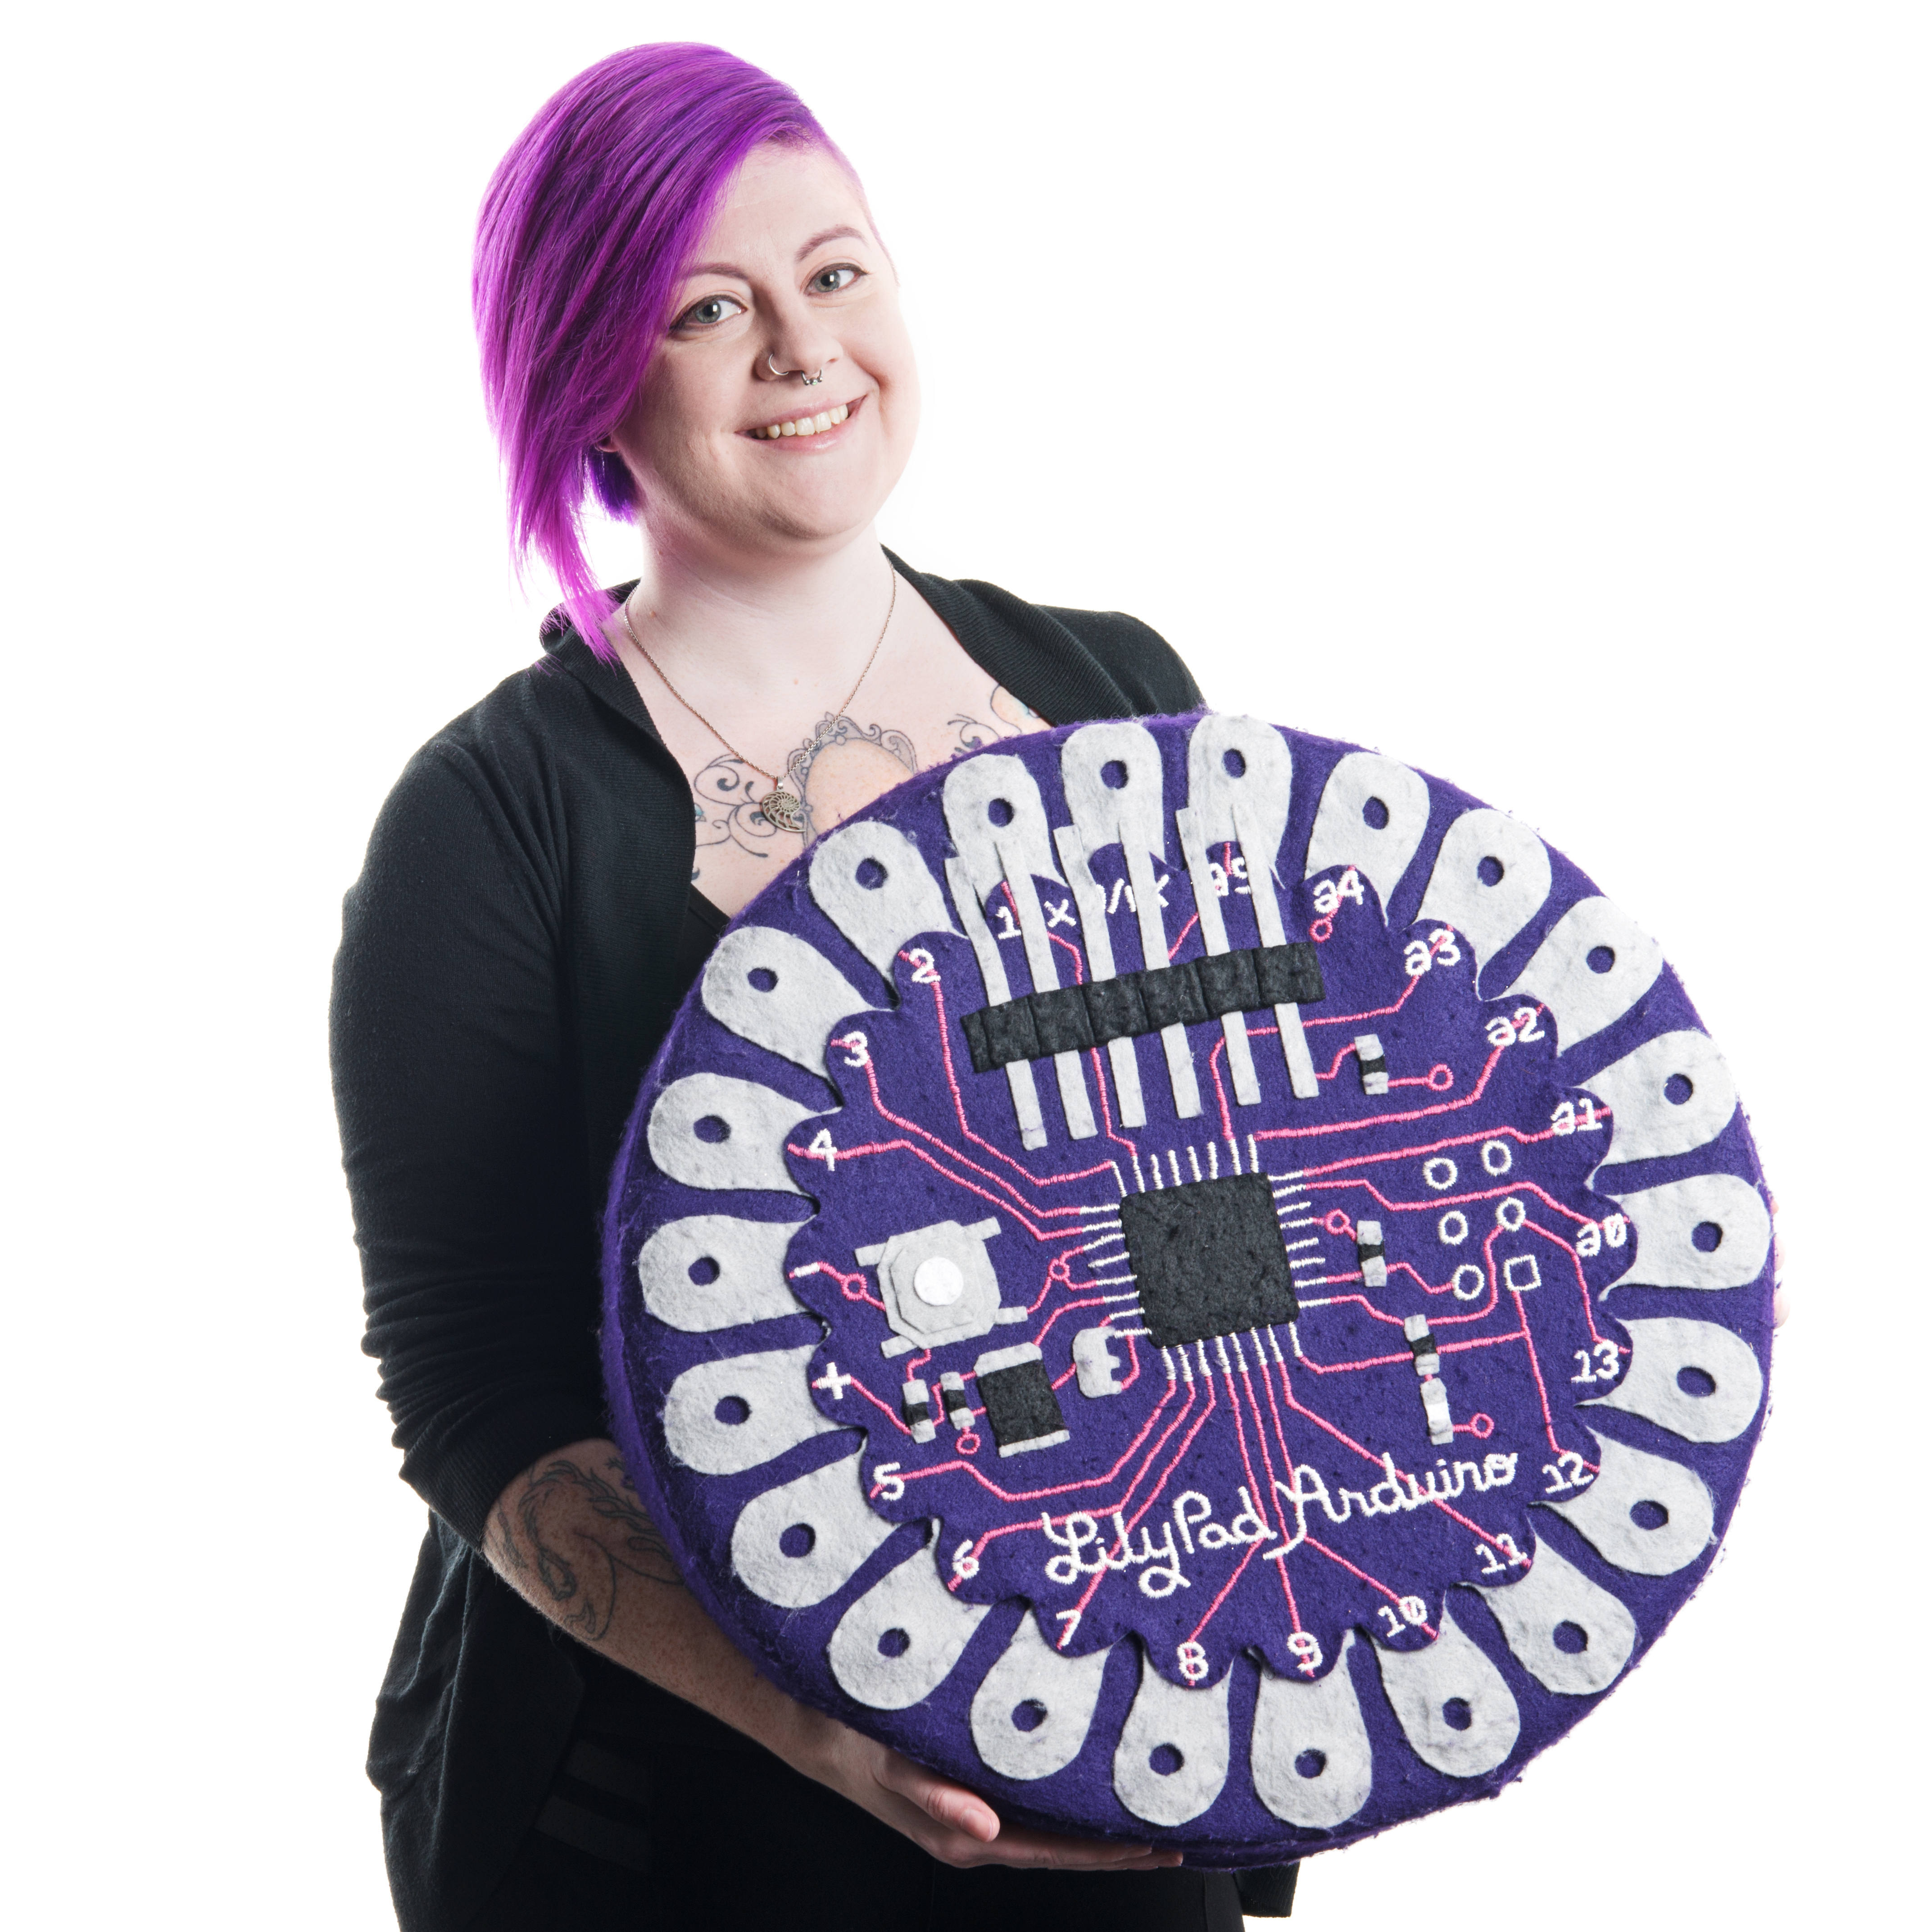
Finished teaching prop next to a LilyPad circuit
Sewable electronic craft projects can be daunting to instructors presenting in front of a large audience or group new to sewing skills. The SparkFun Education team has had a lot of positive feedback from using simple, enlarged teaching props to help students identify parts of LilyPad boards and stitching techniques with conductive thread.

Teaching sewing techniques usually requires up-close instruction; let's build something to help you show your students how to sew on a larger scale.
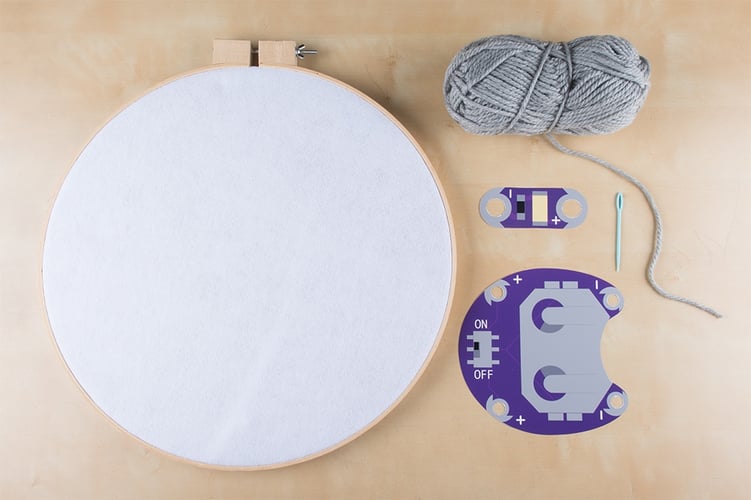
For the fabric base, you will need:
- Large quilting hoop (we use 18" and 23" hoops)
- Felt the width of the hoop + 4" (we buy felt off a bolt from a local fabric store)
- Scissors
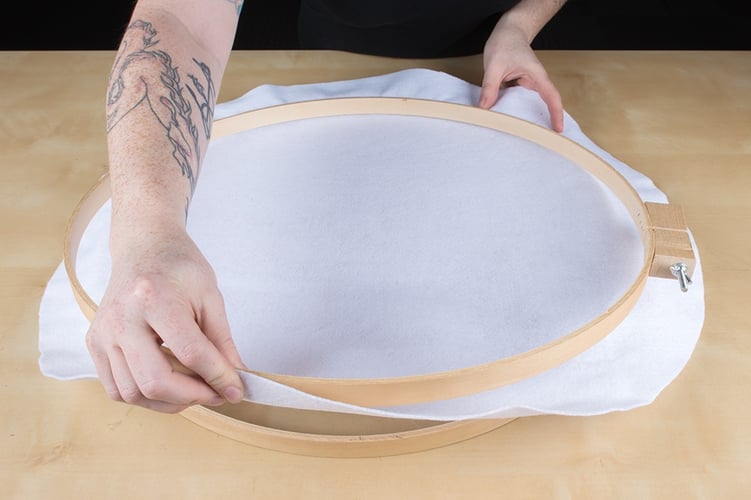
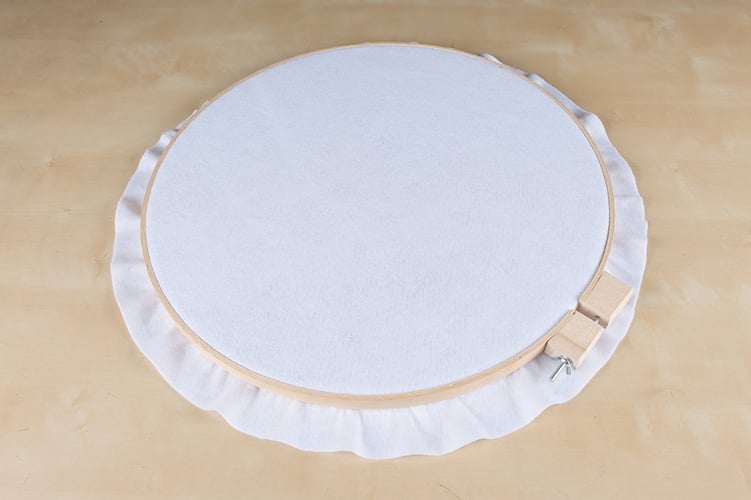
Let's start by making a base on which to sew components. This will mimic the felt or fabric your students will be using in their projects. Cut a large circle of felt approximately 4" larger than the quilting hoop. Loosen the wingnut on the hoop to open up the hoop into its two halves. Place the felt over the smaller inner circle and place the larger circle with the bolt over it. Tighten the wingnut and pull the felt so that it is taut across the hoops. Trim any excess felt if desired.
For LilyPad components, you will need:
- White card stock (Letter or Tabloid size)
- Printer
- Scissors
- Velcro
- Laminating sheets (optional)
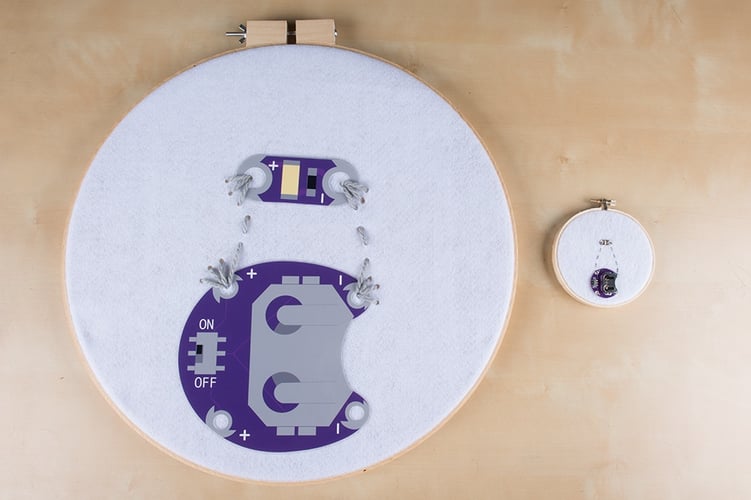
Next, let's create enlarged LilyPad pieces to place on the felt base. We've created illustrations of some common LilyPad components for you to download and print on 11"x17" or 8.5"x11" paper.
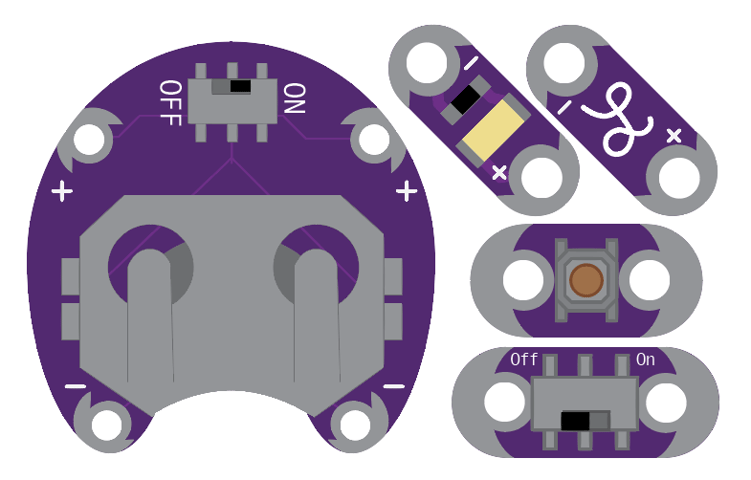


Carefully cut out the pieces and laminate if desired. Cut inside the sew tab holes to leave space to sew through during instruction. Attach Velcro tabs (either adhesive tabs or hot glue on the paper) to the back of the piece, and a matching tab on the part of the felt embroidery hoop where you would like to place it for the lesson.
Putting It All Together:
After the pieces are constructed, it's time to practice sewing with the props. Gather up the felt base, LilyPad pieces and a few more materials:
- Gray yarn
- Plastic needle
- Scissors
- Easel (optional)
- Marker (optional)
During the lesson or workshop, make sure to identify to the students the labels of the sew tabs, number of sew tabs and their functions as you attach them to the felt.
Use a large plastic needle to help coach students on threading their needles. The yarn is also a great oversized example you can use to teach tying knots. Walk through the steps to getting conductive thread ready for sewing after showing students how to place their LilyPad pieces on their circuit design. When you are ready to start sewing, use wide, clear stitches with the yarn to show attaching thread to the sew tabs of the pieces and traveling with a running stitch to the next component. Occasionally flip the hoop over to show how the stitching looks from the back of the project.
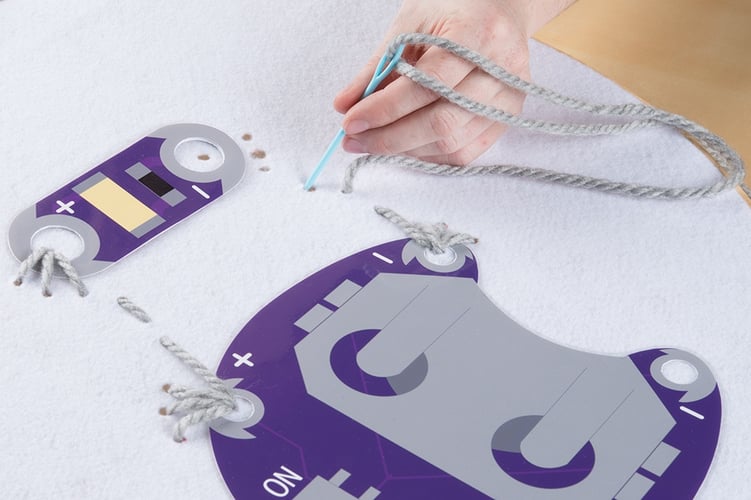
If you have trouble pushing the needle through the felt, you can pre-cut holes in it as a stitching guide.
We also often walk around the classroom during instruction to demonstrate the sewing techniques to individual students, especially how to tie a finishing knot. Building two or more of the demonstration props will allow any volunteers or assistants to carry one around while you instruct from the front of the room.
We teach the Glowing Pin project most often with these props, but they can be adapted to a number of simple e-sewing projects.

E-Textile Project Resources
Ready to start making some sewable electronics projects with your students? We've created an e-sewing basics tutorial just for you.

Looking for more teaching tips? Check out the 5 Tips for Teaching E-Textiles blog post.
What's your favorite tip for showing large groups small details? Please share in the comments below.
teaching tools, Maker Education, e-textiles