
I've written a few posts about using micro:bit in my classroom. However, as the semester wore on, I could tell the kids were getting a bit bored learning new code for the micro:bit and building little circuits on breadboards. They needed a more substantial building challenge.
Thus, the micro:bit, LEGO and cardboard vehicle was born.
Originally, I challenged my students to build a vehicle using LEGO pieces and power it with a micro:bit controlled motor. However, they soon informed me that LEGO was too limiting and they wanted to use cardboard for the chassis and frame. So, I adapted the challenge to include all three elements.
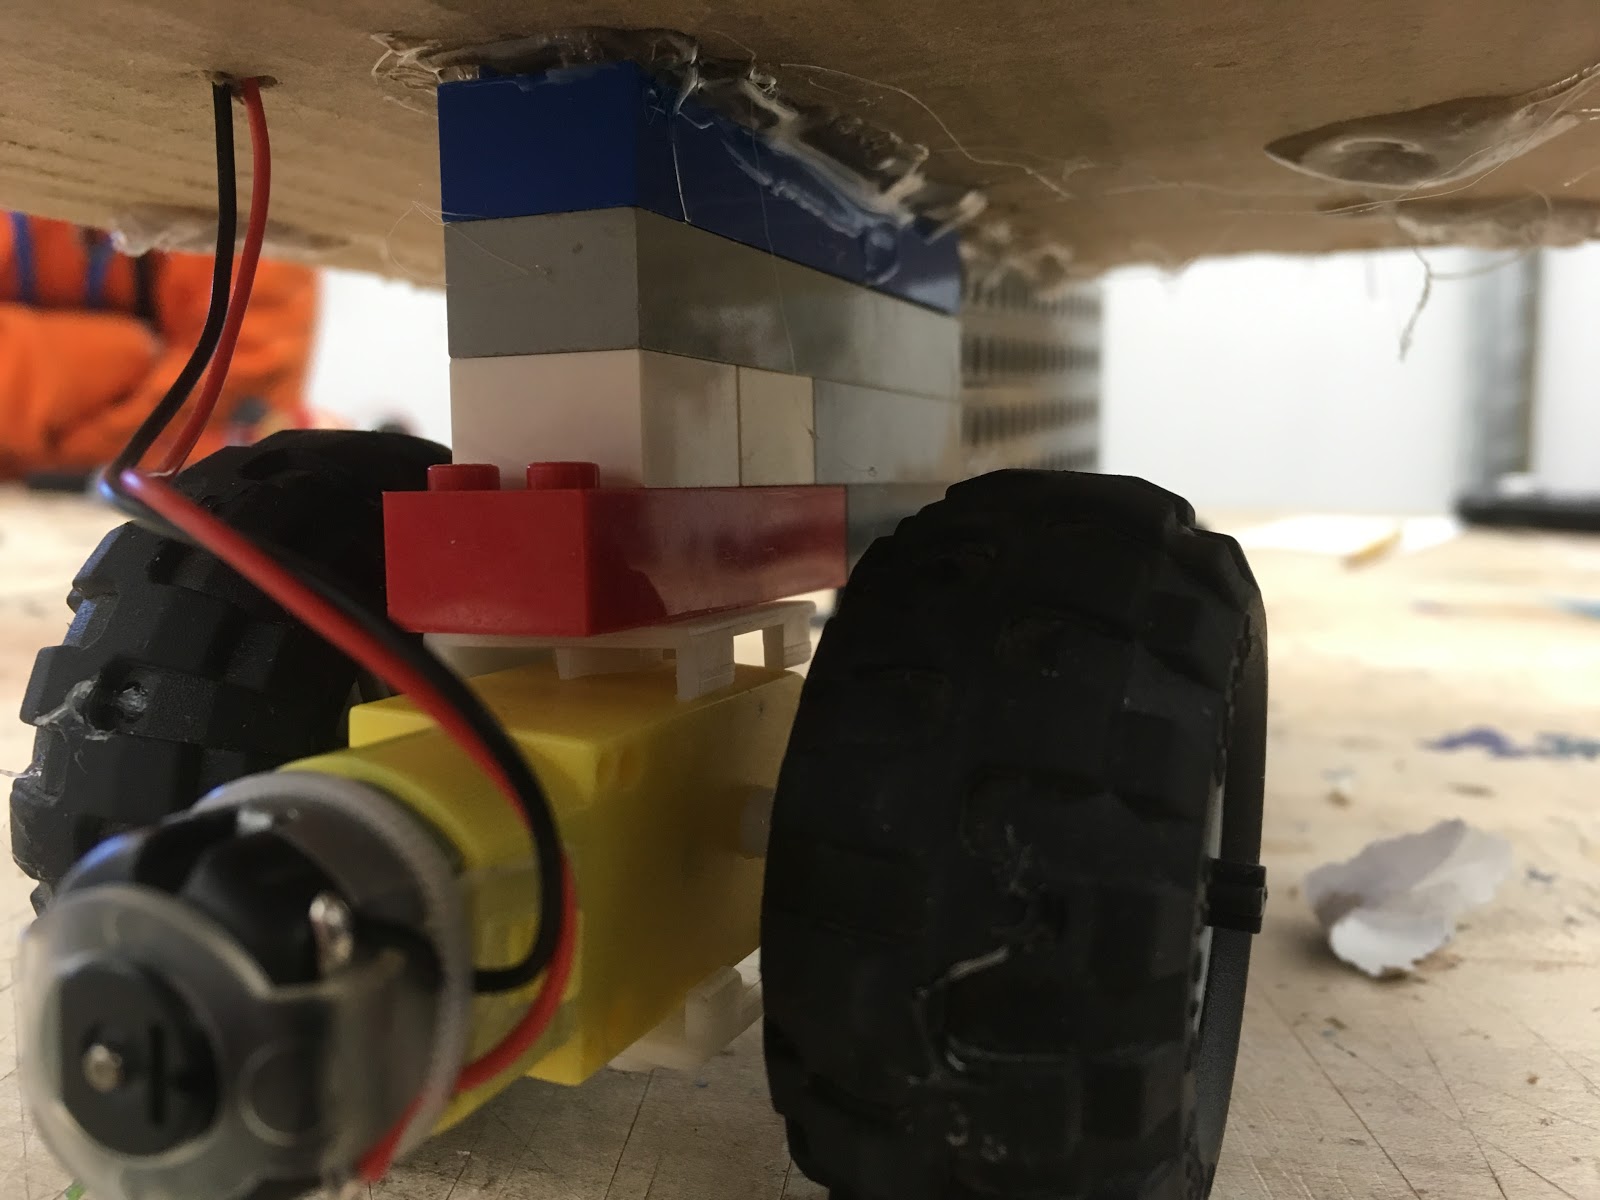
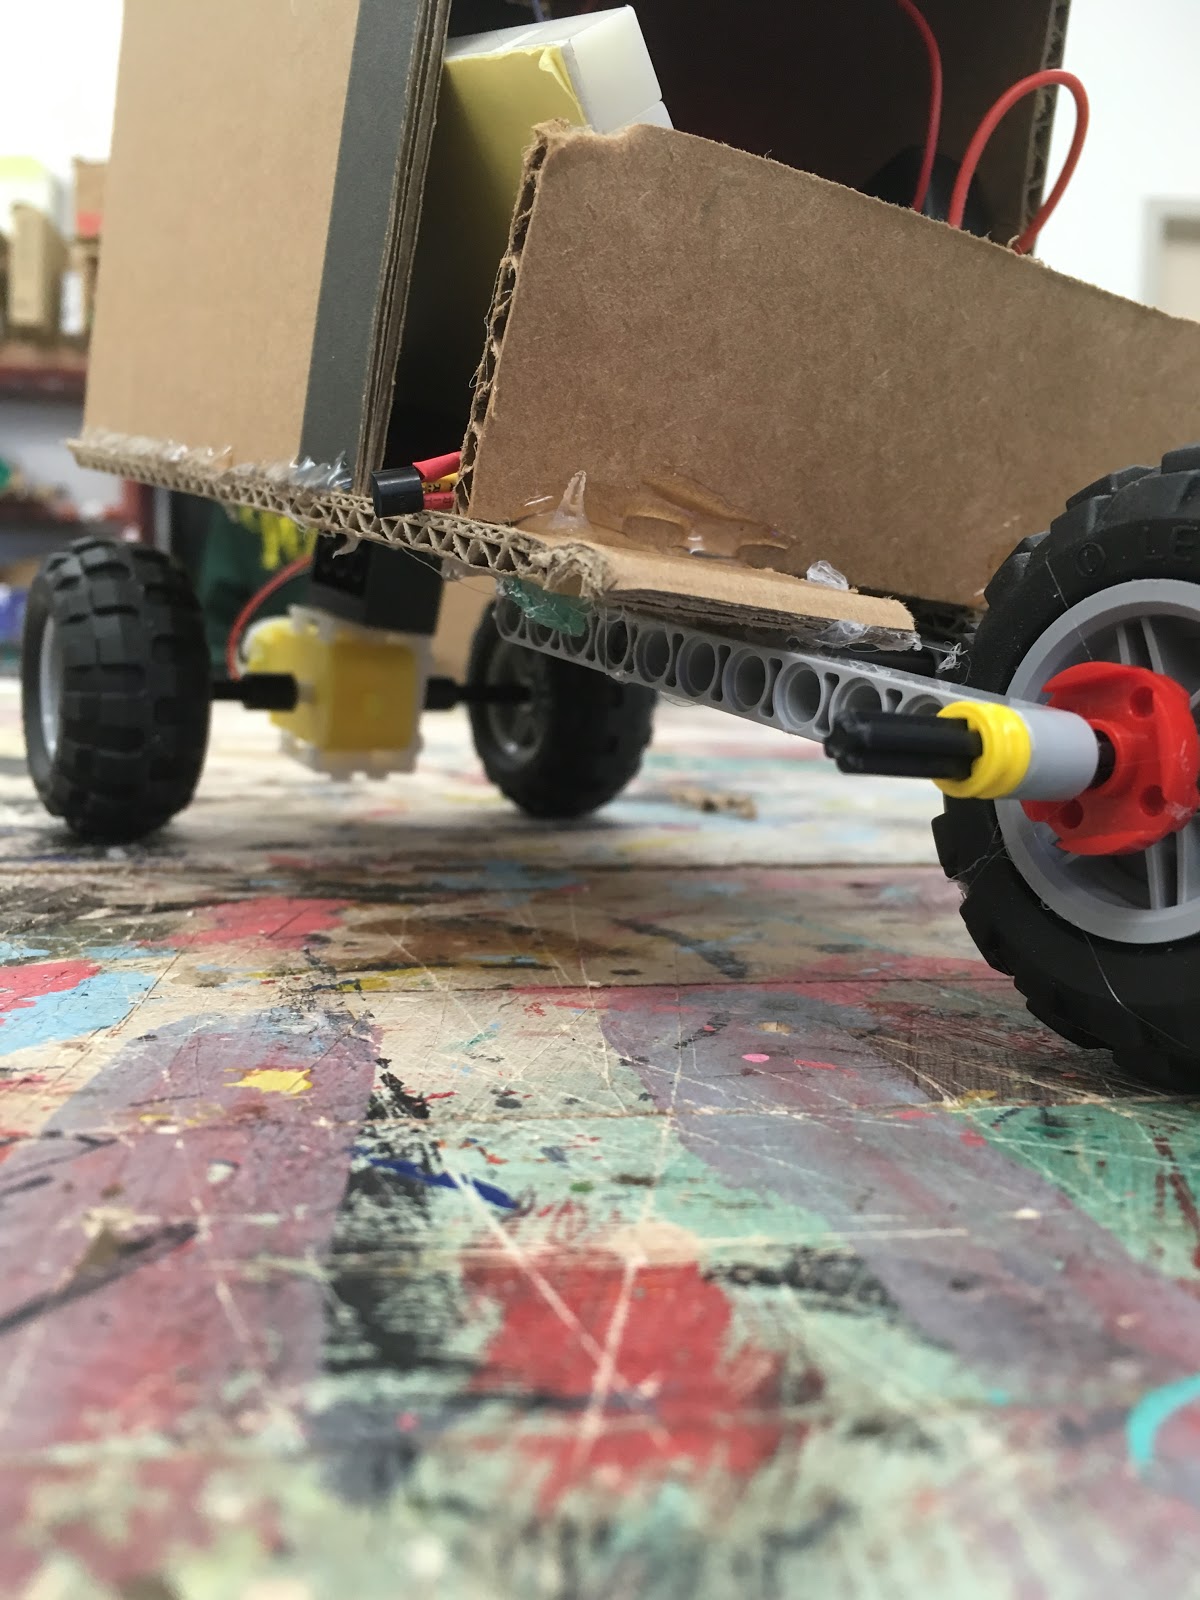
Incorporating cardboard presented its own difficulties as attaching axles to cardboard can be frustrating, plus there was no way to attach the motor to the cardboard without resorting to hot glue.
So, we decided that the axle and motor mounts could be made of LEGO, and that one brick could be hot glued onto the cardboard as a way to mash-up the two building systems - LEGO and cardboard.
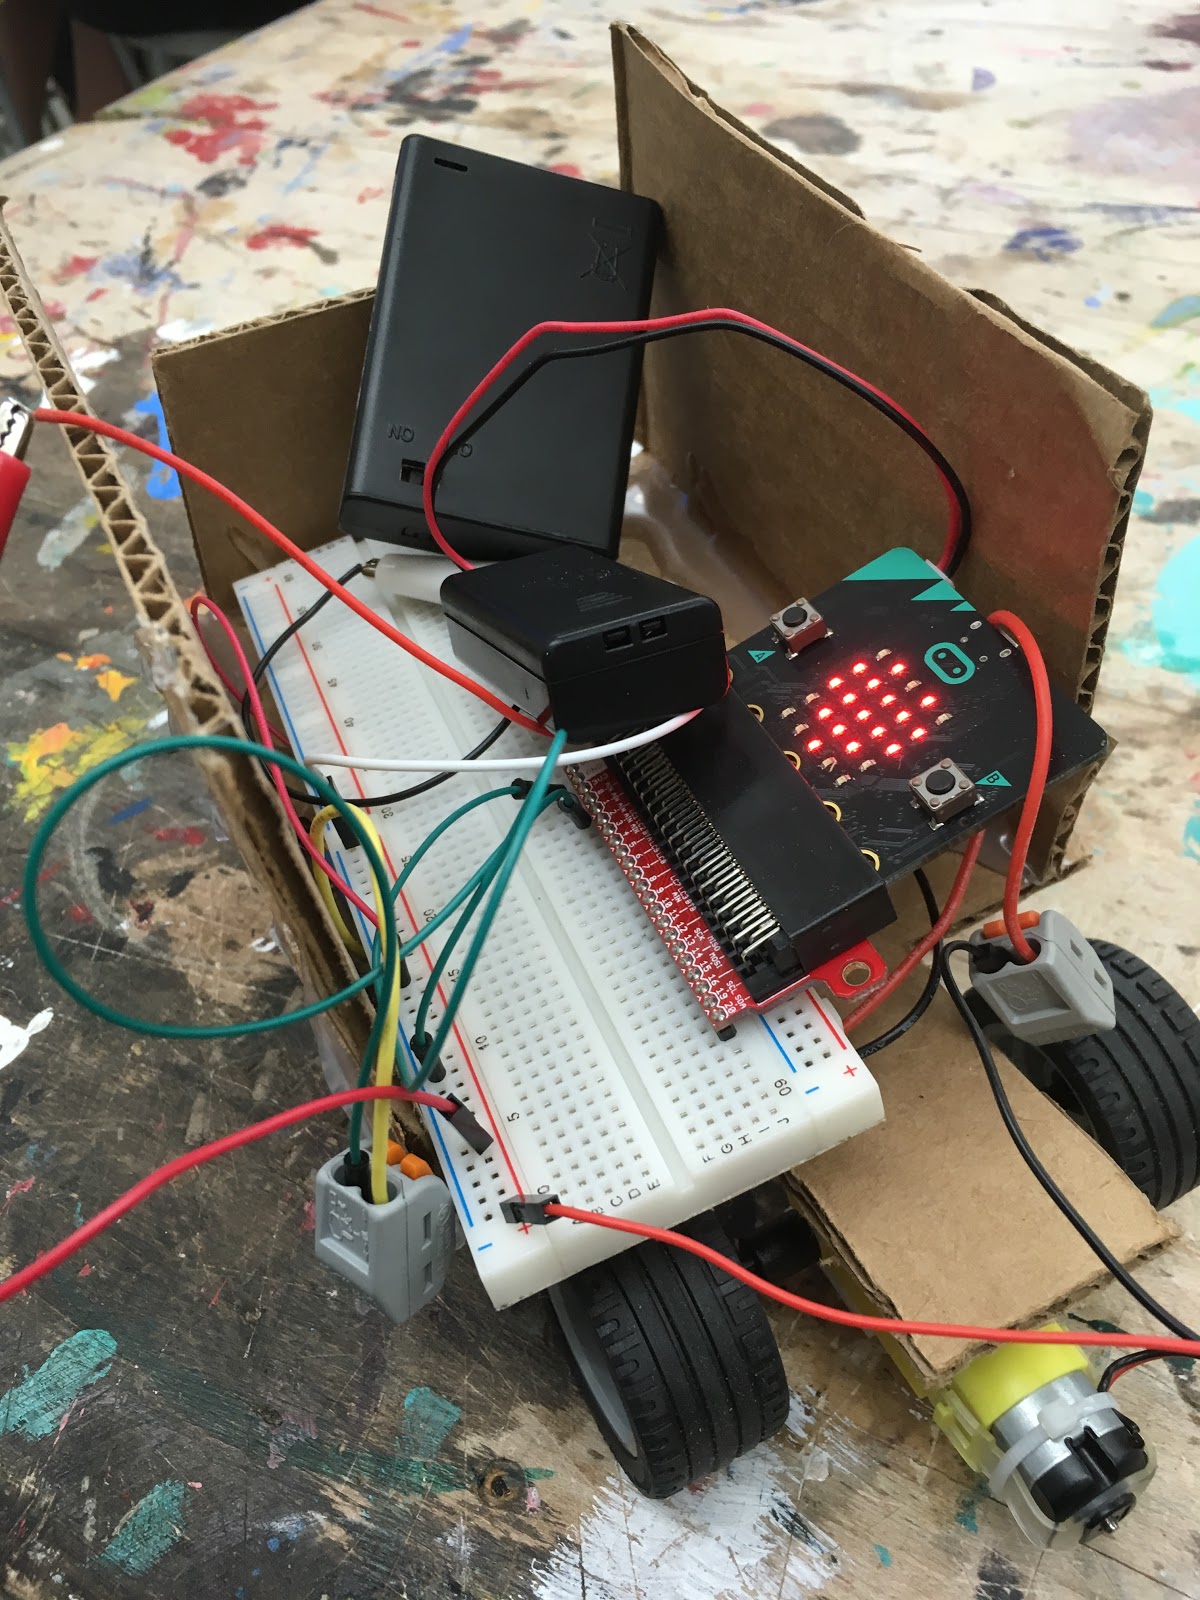
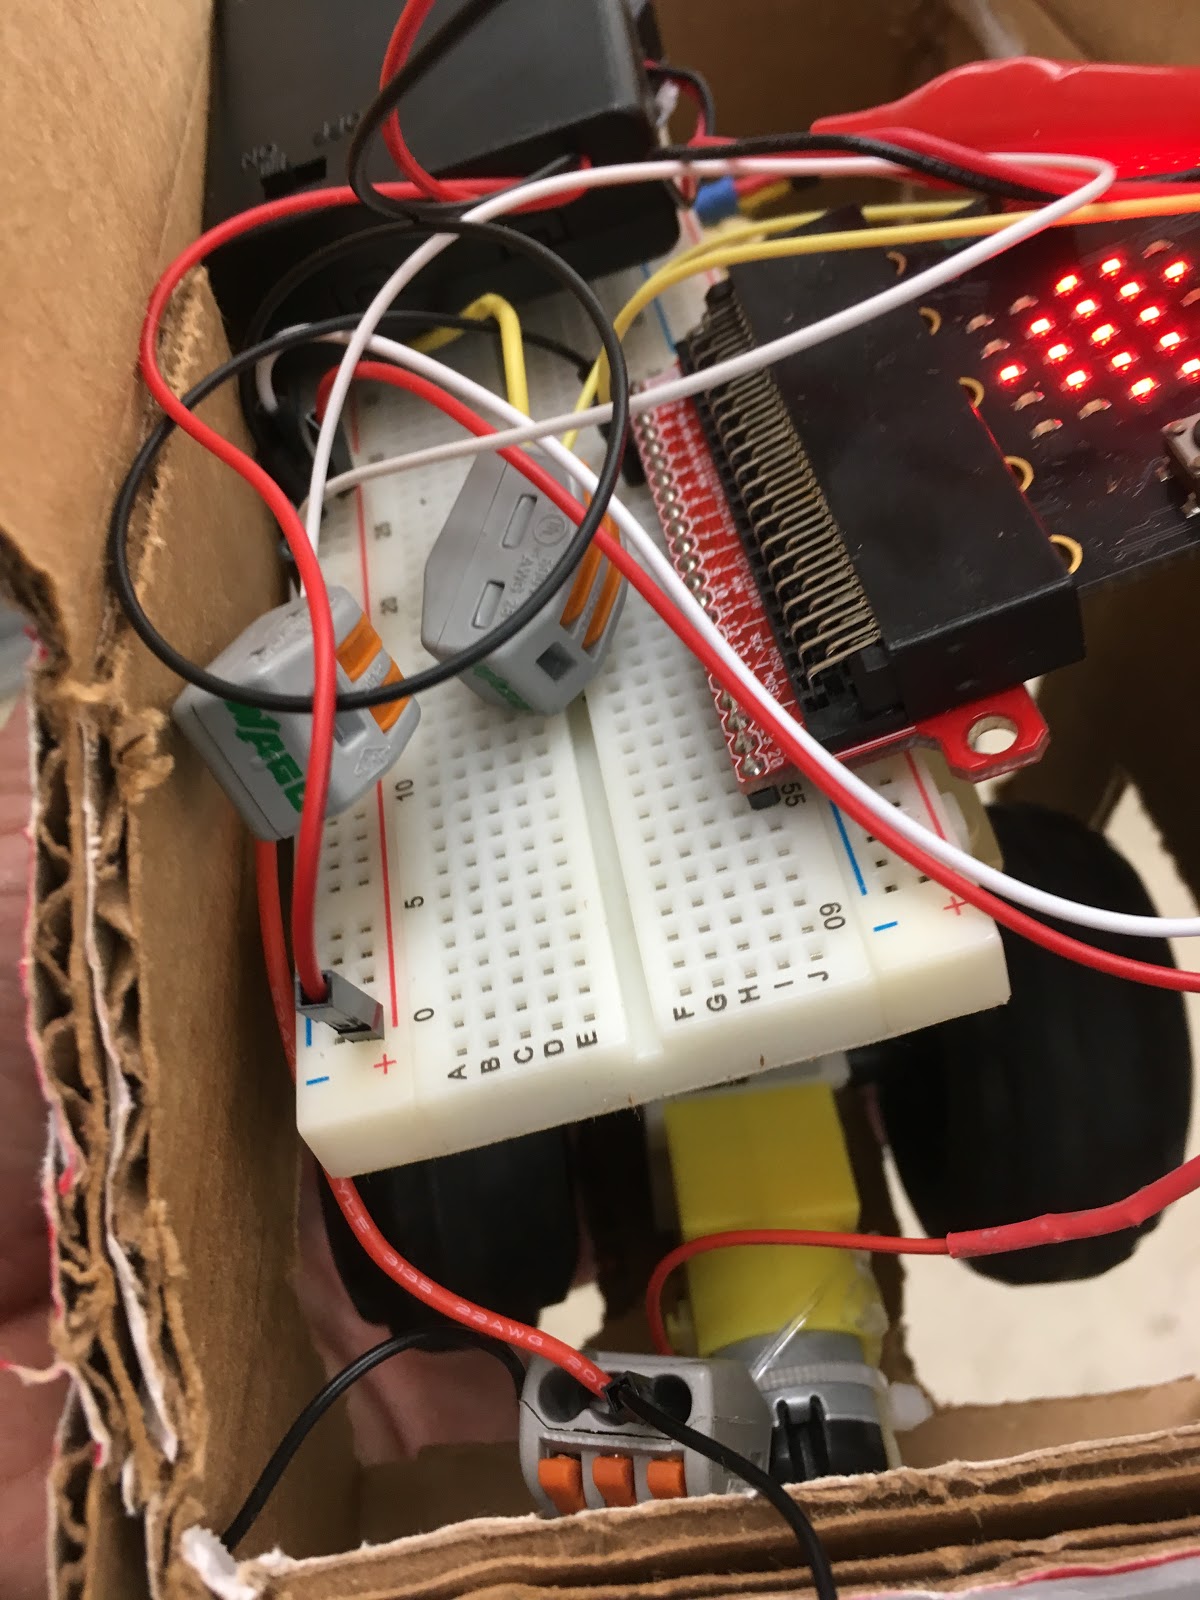
Additionally, 3-D printed parts from Adafruit made it possible to join the TT motor to the LEGO building system. Wago lever-nut connectors made safe, temporary connections between the multitudes of wires necessary for the car to run.
Ultimately, my students were able to create some neat vehicles and rekindle their excitement around programming and building with electronics.
 |
 |
 |
 |
If you'd like to try this challenge with your class, here are the materials I used as well as a presentation I created on connecting motors and micro:bits.

Materials
From SparkFun:
- micro:bit Inventor’s Kit
- 2 X AAA battery holder with switch
- NPN BC337 transistor
- 2.2 k ohm resistor
From Adafruit:
- TT motor
- LEGO compatible brick bracket for TT motor
- LEGO compatible cross axle for TT motor
From Amazon:
- Wago lever-nut connectors
student projects, Guest Post, micro:bit